
Introduction
You can make any HTML element resizable using a simple jQuery UI method: resizable. If you have tried making an HTML element resizable without using jQuery UI, you might be knowing how difficult it is to implement. You can also control the behavior of the element during resizing if you want using a number of options and methods. You need to specify the options as key/value pairs and you can directly call methods inside the droppable method. When an element becomes resizable, you will find a handle when you move the mouse near the border of the element.
Syntax
The syntax of resizable method is
$(selector).resizable();
OR
$(selector).resizable({option1:value1, option2:value2,……..});
OR
$(selector).resizable("method_name", [parameters]);
The options will set the behaviour of the element while resizing. The option and its corresponding value are set as key value pairs. While specifying actions using method names, we need to pass the method name along with its parameters (if any) to the resizable method. We will see all the popular options and methods one by one with the help of code samples. While trying the code samples, make sure that you add reference to the jQuery UI related files (one .css file and two .js files) correctly.
The resizable() Method
Open a new file and add the following lines of code:
<!DOCTYPE html>
<html>
  <head>
    <title>Sample Code</title>
    <link rel="stylesheet" href="jquery-ui.min.css">
    <script src="jquery.js"></script>
    <script src="jquery-ui.min.js"></script>
    <style>
      #source
      {
     width:100px;
     height:100px;
     border:1px solid black;
     background-color:aqua;
       }
    </style>
    <script>
      $(document).ready(function()
      {
      $("#source").resizable();
      });
    </script>
  </head>
  <body>
    <div id="source">Resize Me!!!</div>
  </body>
</html>
Save the file as index.html. Open it using your browser and you will get a screen with blue box. If you move the cursor to different sides, you will see handles like this:
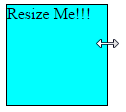
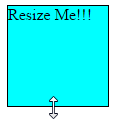
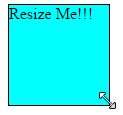
You can just drag the handle to increase the length, width or both.
Setting Values to alsoResize, ghost, delay and distance Options
You can make other elements resize synchronously when you resize one element by setting the value of alsoResize to the id or class of other elements. You can see the original size of the element while resizing if you set the value of ghost to true. Once the resize is complete, the semi-transparent item that shows the current size will be automatically deleted. You can set a delay for when resizing should start by setting the value of delay option in milliseconds. You can set the tolerance in pixels, so that resizing will start only if the handle moves beyond the specified distance.
Open a new file and add the following lines of code:
<!DOCTYPE html>
<html>
  <head>
    <title>Sample Code</title>
    <link rel="stylesheet" href="jquery-ui.min.css">
    <script src="jquery.js"></script>
    <script src="jquery-ui.min.js"></script>
    <style>
      .source
      {
        width:100px;
        height:100px;
        border:1px solid black;
        background-color:aqua;
        margin:10px;
      }
    </style>
    <script>
      $(document).ready(function()
      {
      $("#source1").resizable({alsoResize:"#source2"});
      $("#source3").resizable({ghost:true});
      $("#source4").resizable({delay:500});
      $("#source5").resizable({distance:20});
      });
    </script>
  </head>
  <body>
   <div id="source1" class="source">Resize Me!!!</div>
   <div id="source2" class="source">I will be resized when you resize the first blue box!!!</div>
   <div id="source3" class="source" style="background-color:orange">I'm a ghost!!!</div>
   <div id="source4" class="source" style="background-color:gray">I will be resized only after half a second you try!!!</div>
   <div id="source5" class="source" style="background-color:pink">I will be resized only if you move me at least 20 pixels!!!</div>
  </body>
</html>
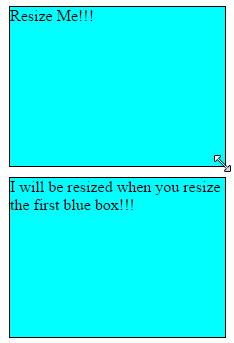
Save the file as options1.html. Open it using your browser and you will get a screen like this:
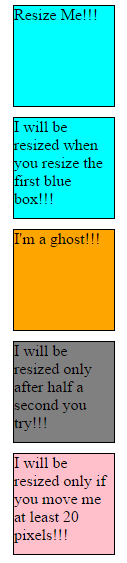
Try resizing the first blue box, and you could find that the second blue box automatically and asynchronously gets resized with the first box like this.
Now try moving the orange box and you will get a screen like this:
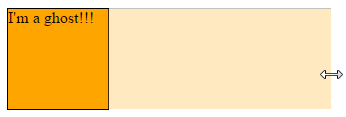
Once the mouse is released, the semi-transparent section will be deleted and your screen will look like this:

If you try resizing the gray box, it will start resizing only after half a second you try it. If you try resizing the pink box, it will start resizing only if you move the handle at least 20 pixels.
Setting Values to minHeight, maxHeight, minWidth, maxWidth and containment Options
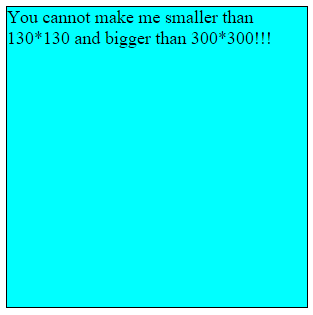
You can set the minimum and maximum height the element should be allowed to resize to using minHeight and maxHeight options respectively. Similarly, you can set the minimum and maximum width the element should be allowed to resize to using minWidth and maxWidth options respectively. You can constrain the resizing of an element within the boundary of a specified element by setting the value of containment option.
Open a new file and add the following lines of code:
<!DOCTYPE html>
<html>
<head>
<title>Sample Code</title>
<link rel="stylesheet" href="jquery-ui.min.css">
<script src="jquery.js"></script>
<script src="jquery-ui.min.js"></script>
<style>
.source
{
width:200px;
height:200px;
border:1px solid black;
background-color:aqua;
font-size:18px;
margin:2px;
}
#parent
{
width:300px;
height:300px;
border:1px solid black;
background-color:pink;
}
</style>
<script>
$(document).ready(function()
{
$("#source1").resizable({minHeight:130, minWidth:130, maxHeight:300, maxWidth:300});
$("#child").resizable({containment:"#parent"});
});
</script>
</head>
<body>
<div id="source1" class="source">You cannot make me smaller than 130*130 and bigger than 300*300!!!</div><br />
<div id="parent">
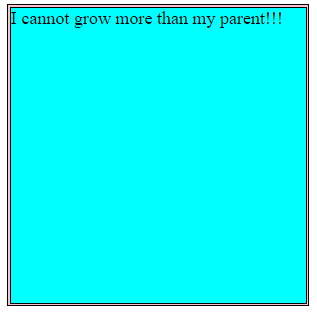
<div id="child" class="source">I cannot grow more than my parent!!!</div>
</div>
</body>
</html>
Save the file as options2.html. Open it using your browser and you will get a screen like this:
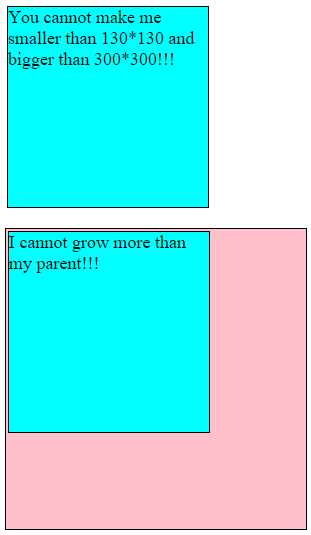
If you try to reduce the size of the first blue box, you could find that resizing stops when the height becomes 70px and/or the width becomes 70px. Similarly, if you try to increase the size, resizing stops when the height becomes 300px and/or the width becomes 300px.
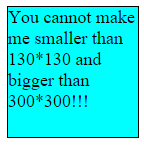
Minimum size Maximum size
If you try resizing the blue box inside the pink box, it stops resizing when its border touches the border of the pink box.
Setting Value to animate, animateDuration and animateEasing Options
You can set the resizable element animate to the final size only after the resize is complete by setting the value of animate to true. You can also set how long to animate by setting the value of animateDuration option. You can either set the time in milliseconds or set a named duration like slow or fast. You can also decide which easing (the speed at which an animation progresses) to apply by setting the value of animateEasing option. Some of the possible values are linear, swing, easeInQuad, easeOutQuart, easeInBounce and so on.
Open a new file and add the following lines of code:
<!DOCTYPE html>
<html>
  <head>
     <title>Sample Code</title>
     <link rel="stylesheet" href="jquery-ui.min.css">
     <script src="jquery.js"></script>
     <script src="jquery-ui.min.js"></script>
     <style>
      .source
      {
     width:150px;
     height:150px;
     border:1px solid black;
     background-color:aqua;
     font-size:18px;
     margin:10px;
      }
    </style>
    <script>
      $(document).ready(function()
      {
     $("#source1").resizable({animate:true});
     $("#source2").resizable({animate:true, animateDuration:10000});
     $("#source3").resizable({animate:true, animateEasing:"easeInBounce"});
      });
    </script>
  </head>
  <body>
    <div id="source1" class="source">I will reach the final position only after you release the mouse!!!</div>
    <div id="source2" class="source">I will reach the final position in 10 seconds!!!</div>
    <div id="source3" class="source">Easing: easeInBounce</div>
  </body>
</html>
Save the file as options3.html. Open it using your browser and you will get a screen like this:
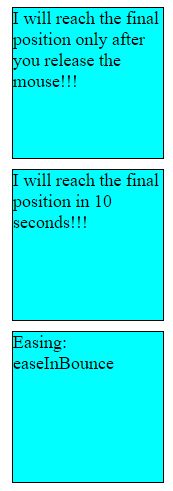
Try resizing the three boxes and see the effects.
Setting Value to aspectRatio, grid and handles Option
You can constrain the element to resize in a specific aspect ratio by setting the value of aspectRatio option. You can set the number of pixels the element should expand horizontally and vertically during each movement of the mouse by setting the value of grid option. The value is set as an array [x, y]. You can decide which handles can be allowed for resizing by setting the value of handles option. The possible values are n, e, s, w, ne, se, sw, nw and all.
Open a new file and add the following lines of code:
<!DOCTYPE html>
<html>
<head>
<title>Sample Code</title>
<link rel="stylesheet" href="jquery-ui.min.css">
<script src="jquery.js"></script>
<script src="jquery-ui.min.js"></script>
<style>
.source
{
width:150px;
height:150px;
border:1px solid black;
background-color:aqua;
font-size:18px;
margin:10px;
}
#source3
{
margin:100px;
border-left:5px solid pink;
border-bottom:5px solid pink;
}
</style>
<script>
$(document).ready(function()
{
$("#source1").resizable({aspectRatio:2/1});
$("#source2").resizable({grid:[100,50]});
$("#source3").resizable({handles:"s, w"});
});
</script>
</head>
<body>
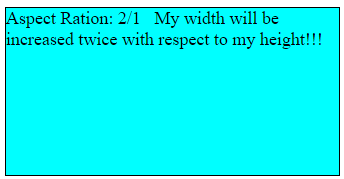
<div id="source1" class="source">Aspect Ration: 2/1 My width will be increased twice with respect to my height!!!</div>
<div id="source2" class="source">My width will be increased by 100px and width by 50px for every mouse move!!!</div>
<div id="source3" class="source">You can resize me only through the pink borders!!!</div>
</body>
</html>
Save the file as options4.html. Open it using your browser and you will get a screen like this:
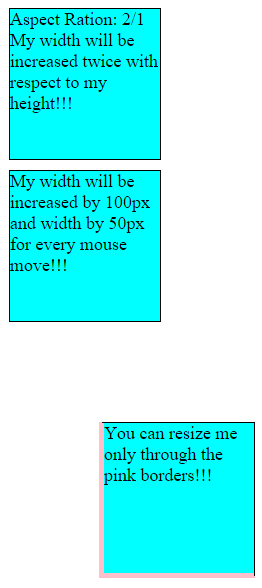
If you start resizing the first box, you could find that its width and height changes in the ratio 2:1.
If you start resizing the second box, you could find that its width changes by 100px for every horizontal move and height changes by 50px for every vertical move. You could resize the third box only using left and bottom borders. You will not find the handle to resize on any other side.
Calling Methods
We can perform different actions on the resizable elements by passing the method that performs the action as the parameter of the droppable method. We can remove the resizable functionality forever by calling the destroy method. We can disable the resizable functionality temporarily calling the disable method and then enable it calling the enable method. You can get the values of all options as an object by calling the option method without passing any parameter. You can get the value of a specific option by calling the method named option with the name of the option as parameter. You can set the value of options by calling the option method and passing the option name and its corresponding value as parameters.
Open a new file and add the following lines of code:
<!DOCTYPE html>
<html>
  <head>
    <title>Sample Code</title>
    <link rel="stylesheet" href="jquery-ui.min.css">
    <script src="jquery.js"></script>
    <script src="jquery-ui.min.js"></script>
    <style>
    .source
    {
    width:150px;
    height:150px;
    border:1px solid black;
    background-color:aqua;
    font-size:18px;
    margin:10px;
     }
     </style>
     <script>
       $(document).ready(function()
       {
     $("#source1").resizable();
     $("#btnEnable").click(function(){
        $("#source1").resizable('enable');
        $("#source1").find('p').html("I'm now resizable!!!");
     });
     $("#btnDisable").click(function(){
        $("#source1").resizable('disable');
        $("#source1").find('p').html("I'm not resizable now!!!");
     });
     $("#btnDestroy").click(function(){
        $("#source1").resizable('destroy');
        $("#source1").find('p').html("I'm no more resizable!!!");
      });
        });
     </script>
   </head>
   <body>
     <button id="btnDisable">Disable</button>
     <button id="btnEnable">Enable</button>
     <button id="btnDestroy">Destroy</button>
     <div id="source1" class="source"><p>Resizable</p></div>
   </body>
</html>
Save the file as callingmethods.html. Open it using your browser and you will get a screen like this:
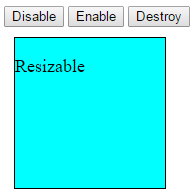
The blue box is resizable when the page is loaded. But it will not be resizable if you click the Disable button and again will be resizable when you click the Enable button. Once the Destroy button is clicked, the element will not be resizable any more.
Managing Events on Resizable Elements
Different events get triggered in different stages of resizing. The create event will be triggered when a resizable element is created. The resize event is triggered during the resize. The start event is triggered when the resize starts and the stop event is triggered when the resize ends.
Open a new file and add the following lines of code:
<!DOCTYPE html>
<html>
  <head>
    <title>Sample Code</title>
    <link rel="stylesheet" href="jquery-ui.min.css">
    <script src="jquery.js"></script>
    <script src="jquery-ui.min.js"></script>
    <style>
      .source
      {
     width:150px;
     height:150px;
     border:1px solid black;
     background-color:aqua;
     font-size:18px;
     margin:10px;
      }
    </style>
    <script>
      $(document).ready(function()
      {
    $("#source1").resizable({
    create:function(event,ui){
        $("#source1").find("p").html("I'm now resizable!!!");},
    start:function(event,ui){
        $("#source1").find("p").html("My size is changing!!!");},
    stop:function(event,ui){
        $("#source1").find("p").html("My size changed!!!");},
    });
      });
    </script>
  </head>
  <body>
    <div id="source1" class="source"><p>Resizable</p></div>
    </body>
</html>
Save the file as eventmanagement.html. Open it using your browser and you will get a screen like this;
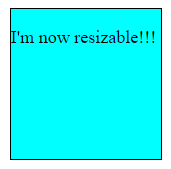
Try resizing the box and notice the message in the box at each stage of resizing.
Summary
In this tutorial, we have seen how to make an HTML element resizable using jQuery UI by writing only a couple of lines of code. We have also seen a number of options, methods and events that can be used to change the behaviour of the element while being resized.