
4.1 Overview of Spring Example
In Chapter 3 , we have installed required software and tools. In this chapter we will work on a small spring example to make sure that everything we did in Chapter 3 is working.
We will use Eclipse to create and run program.
4.2 Create a Java Project
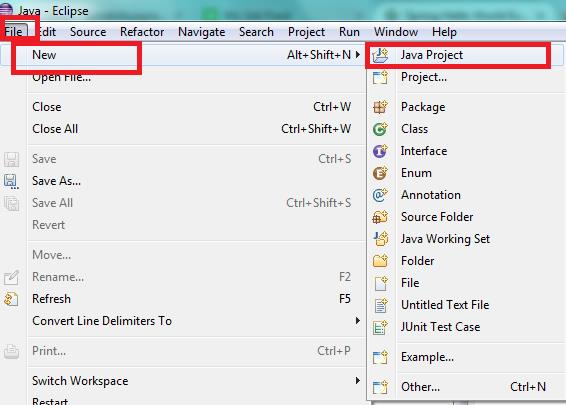
To create a java project in eclipse, Go to File -> New -> Java Project (as shown below )
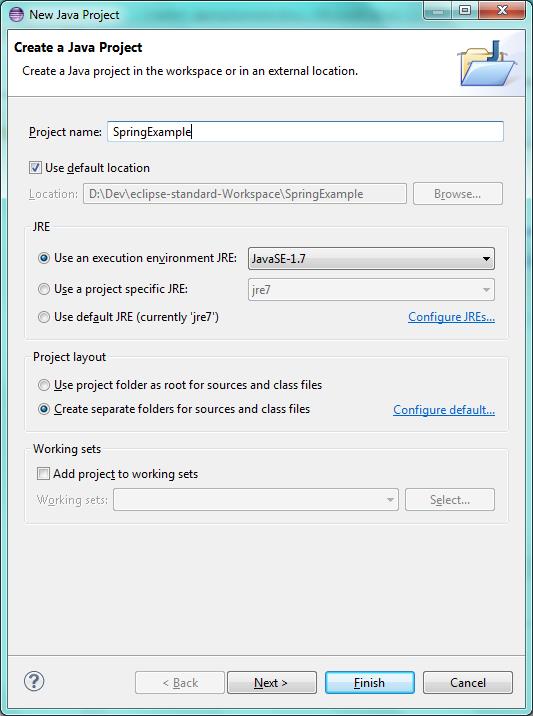
Enter the name of java project and click Finish. In this chapter, we have created project name as “SpringExample” (refer below figure)
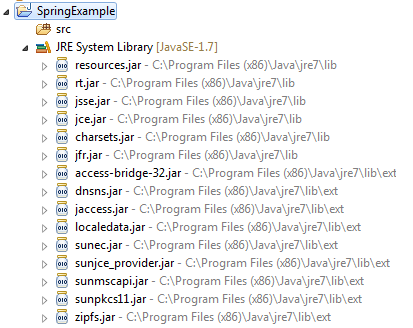
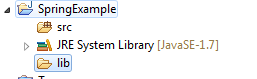
Once done you will see the project created under Project explorer .
4.3 Add Spring and Commons-logging libraries (jar files ) in project
Now is the time to add the jar files of Spring and commons-logging we downloaded in Chapter 3 (section 3.6) in the java project.
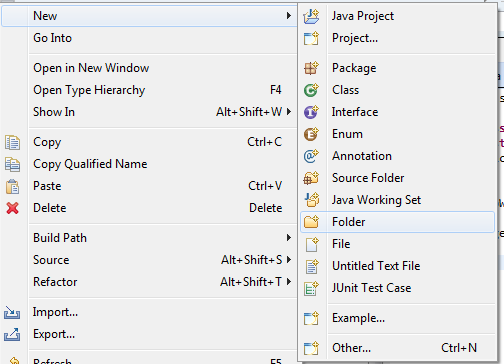
- Create a folder “lib” in java project created in Section 3. To do so
Right Click on Project à Newà Folder and give the name “lib”
Once done you can see “lib” folder created.
- As we mentioned in Introduction chapter that Spring has got several modules and we just need to use the required ones so we will add only the required jar files
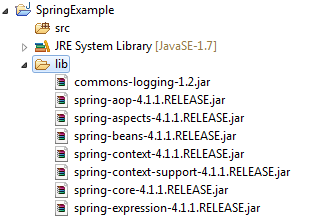
Copy the below 8 jar files and paste in lib folder
- commons-logging-1.2.jar
- spring-aop-4.1.1.RELEASE.jar
- spring-aspects-4.1.1.RELEASE.jar
- spring-beans-4.1.1.RELEASE.jar
- spring-context-4.1.1.RELEASE.jar
- spring-context-support-4.1.1.RELEASE.jar
- spring-core-4.1.1.RELEASE.jar
- spring-expression-4.1.1.RELEASE.jar
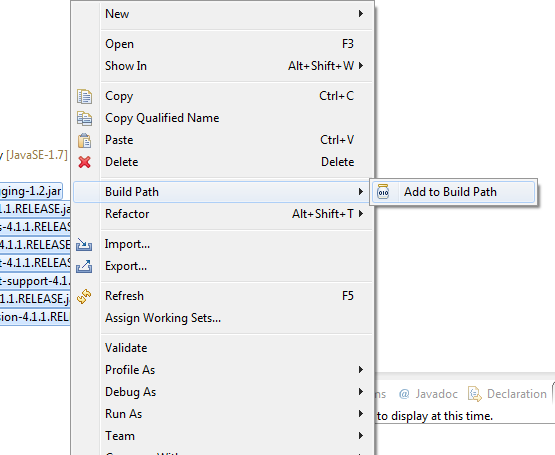
We need to have these jar files in build path (class path) .To do so Select all the jar files and
Right Click à Build Pathà Add to Build Path (refer below figure)
4.4 Spring Create Example
In this example we will create a POJO class (GreetingMessage) and a Test class which will create a instance of GreetingMessage class using Dependency injection
- Create a GreetingMessage class
public class GreetingMessage {
private String message;

public void setMessage(String message){
this.message  = message;
}

public String  getMessage(){
return this.message;
}
}
- Create bean configuration file – We need to create a bean configuration file which is a XML file and has to be in classpath so we will create it in src directory. We can have any name of the file so in this example we have created spring-beans.xml
We need to assign unique IDs to beans defined in xml and to control the creation of objects with different values without impacting any of the Spring source files.
<?xml version="1.0" encoding="UTF-8"?>
<beans xmlns="http://www.springframework.org/schema/beans"
    xmlns:xsi="http://www.w3.org/2001/XMLSchema-instance"
    xsi:schemaLocation="http://www.springframework.org/schema/beans
    http://www.springframework.org/schema/beans/spring-beans-3.0.xsd">

    <bean id="greetingMessage" class="GreetingMessage">
       <property name="message" value="Welcome  Message from Spring!!"/>
   </bean>

</beans>
- id- is unique id
- class- is the fully qualified class name of bean
- property- is the property of class and has name and value attribute to define the name and value of the property. We can have multiple property tags one for each property of bean
- Bean must follow the POJO guidelines
- Create TestGreetingMessage Class to use BeanFactory
import org.springframework.beans.factory.BeanFactory;
import org.springframework.beans.factory.xml.XmlBeanFactory;
import org.springframework.core.io.ClassPathResource;

public class TestGreetingMessage {
    public static void main(String[] args) {
        BeanFactory beanFactory =
                new XmlBeanFactory( new ClassPathResource("spring-beans.xml"));

        GreetingMessage obj = (GreetingMessage) beanFactory.getBean("greetingMessage");

        String message = obj.getMessage();
        System.out.println(message);
        }
}
In this class we have loaded the beans configuration using Bean Factory and called getBean() method to get the instance of bean.
As the spring-beans.xml (beans configuration ) is available in classpath , we have used ClassPathResource implementation of BeanFactory. We will read about BeanFactory in detail in upcoming chapters.
- Run the Program

4.5 Update TestGreetingMessage Class to use ApplicationContext
Application Context provides additional functionality over BeanFactory so we could have used Application Context in TestGreetingMessgae class as below
import org.springframework.context.ApplicationContext;
import org.springframework.context.support.ClassPathXmlApplicationContext;

public class TestGreetingMessage
{

     public static void main(String[] args)
     {
         ApplicationContext context =
           new ClassPathXmlApplicationContext("spring-beans.xml");

          GreetingMessage obj = (GreetingMessage) context.getBean("greetingMessage");

          String message = obj.getMessage();
          System.out.println(message);
     }
}
In this class we have loaded the beans configuration using Application Context and called getBean() method to get the instance of bean.
As the spring-beans.xml (beans configuration ) is available in classpath , we have used ClassPathXMLApplicationContext implementation of Application Context. We will read about Application Context in detail in upcoming chapters.
- Run the Program
We can see the Greeting message on the console
