
Create an xml file and name it as configure.xml. Now type the code as shown in following listing:
<?xml version="1.0" encoding="utf-8"?>
<LinearLayout xmlns:android="http://schemas.android.com/apk/res/android"
     android:layout_width="match_parent"
     android:layout_height="match_parent"
     android:orientation="vertical" >

     <EditText
         android:id="@+id/etwidgetconfig"
         android:layout_width="match_parent"
         android:layout_height="wrap_content"
         android:ems="10" >

         <requestFocus />
      </EditText>

     <Button
        android:id="@+id/bwidgetconfig"
        android:layout_width="match_parent"
        android:layout_height="wrap_content"
        android:text="Button" />
</LinearLayout>
Figure - xml file for configuration activity
Leave MainActivty.java and activity_main.xml file as they appear after creating the project. Now open your emulator and run the application. After launching the project you will be prompted with the emulator screen as shown in the snapshot:
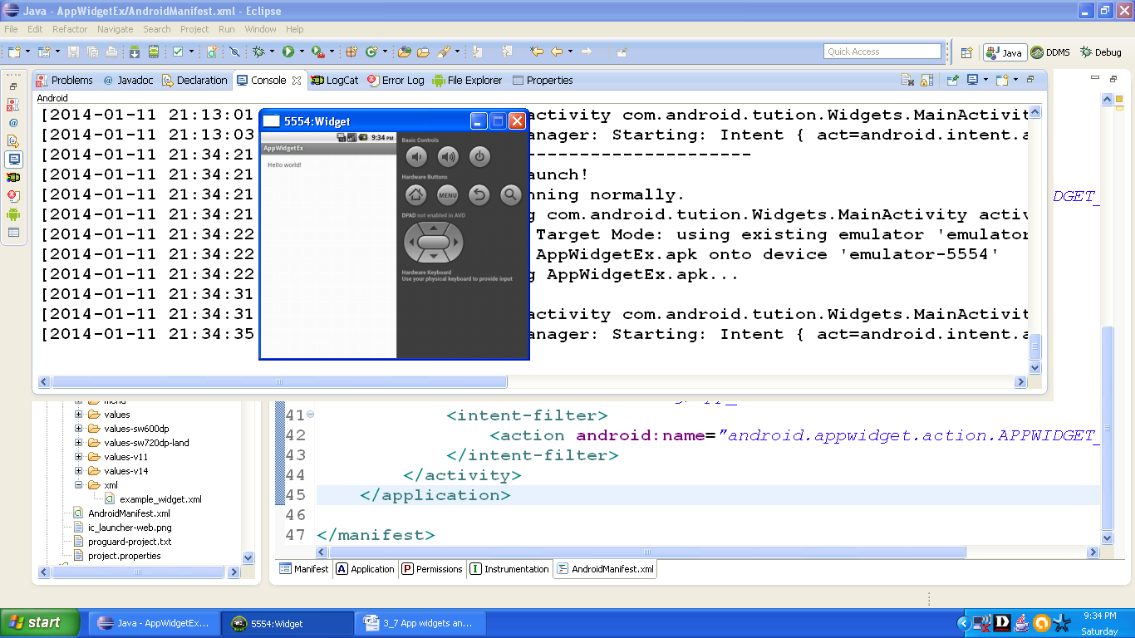
Figure - After launching the project
You might be thinking why the project is showing a Hello World text. This is our main activity. We are interested in the provider output. Go back to main menu. Press the home screen and you will be prompted like a screen as shown in following snapshot:
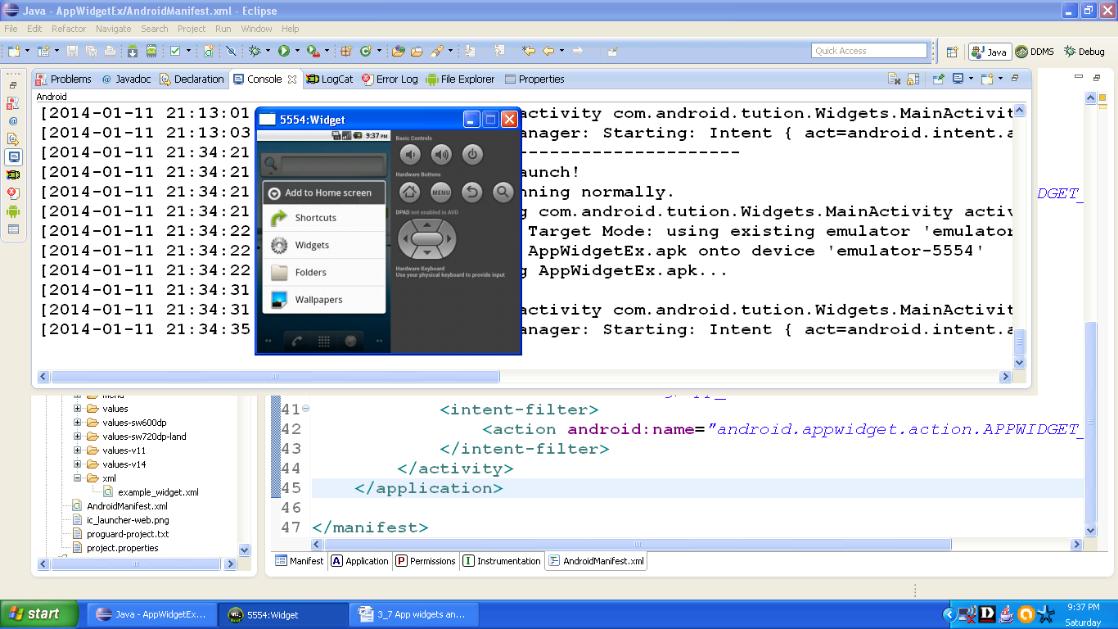
Figure - after pressing the Home Screen

Figure - Select your project from widget menu
Now click on widget and select your project name. You would de prompted with screens as shown in following snapshots:
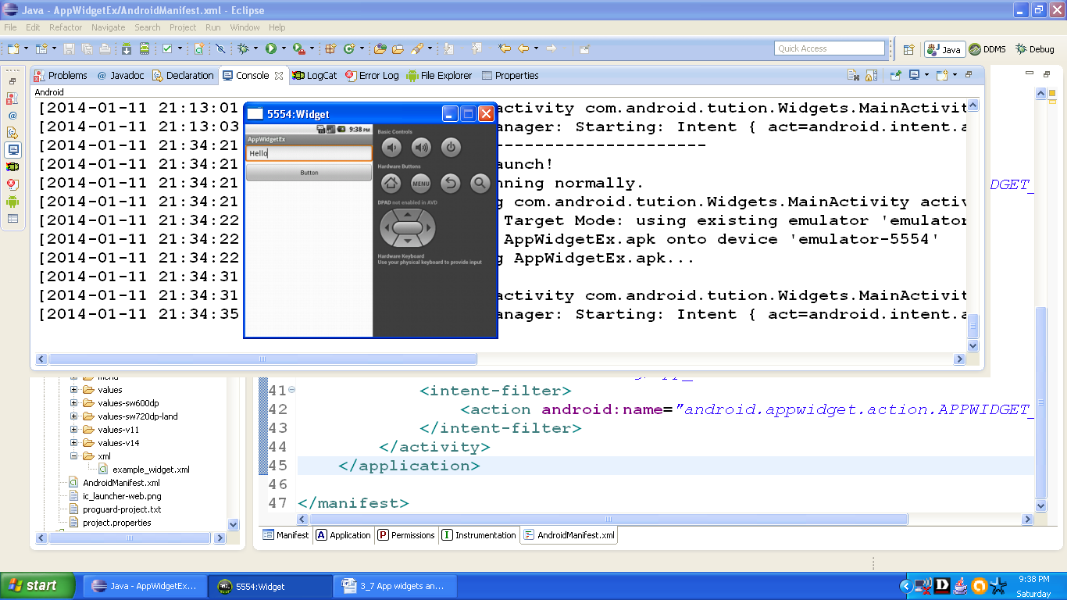
Figure this is your Android app widget’s configuration
After pressing the button you will be moved to the home screen. And you are done. See your widget on home screen. If you cannot see the widget then go back to AppWidetProvider Info metadata and change width and height and run again. There are certain guidelines for designing a widget. You can check them on the official site.
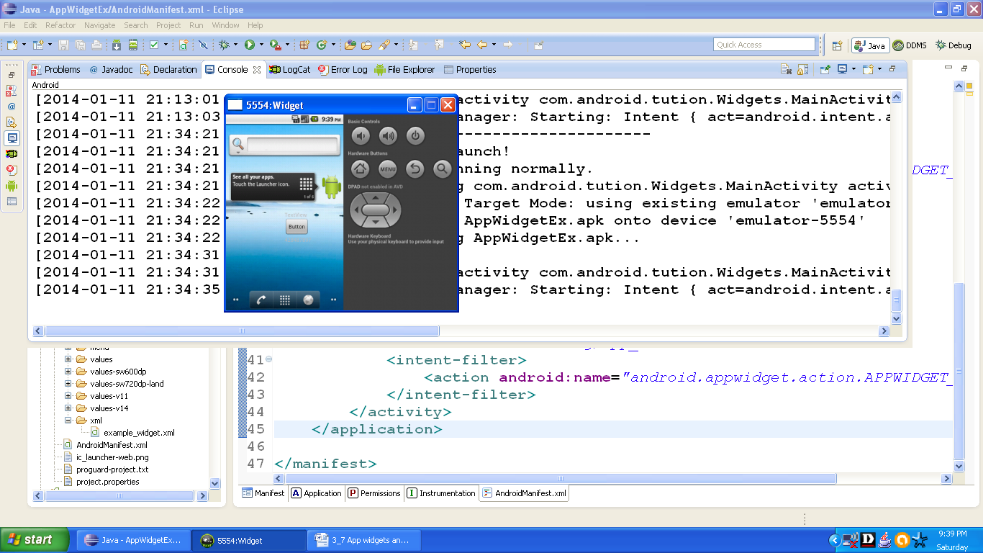
Figure - Output of Android AppWidgetEx App
At last, we are done with widgets. Thank God!! And Congratulations we are done.
3.7.3 Android App Widget Host
Generally, our widgets are embedded on home screen. If you want to create a similar application which hosts the app widgets then it has to be an App Widget Host. Let us have a glance on the key concepts.
- App Widget Host:The AppWidgetHost provides the interaction with the AppWidget service for apps that want to embed app widgets in their User Interface like our home screen. Each App Widget Host must have a unique ID with host’s own package i.e., within package host must have a unique ID.
- App Widget ID: At the time of building each app widget instance is assigned a unique ID. This ID is constant in widget’s lifetime and it will be as it is, until deleted from the host.
- App Widget Host View: When App widget is inflated by host, an App Widget Host View is created for it. It is like a frame where the widget is wrapped.
- Options Bundle: It avails communication between AppWidgetProvider and AppWidgetHost. Widget’s display like size range or where to display e.g. home screen or lock screen etc are communicated.
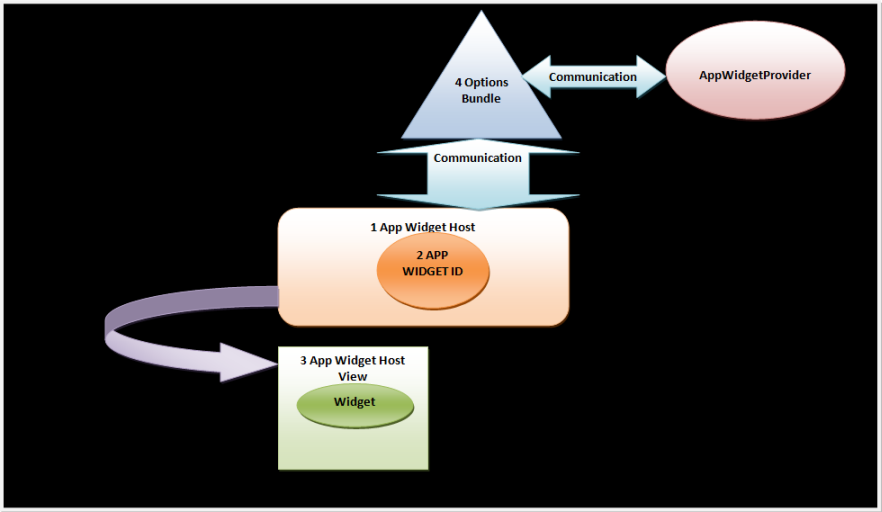
Figure - Android App Widget Host
Let us wind up widgets before it gets too complicated for us. Hope you enjoyed widget app programming. keep practicing. See you with something new in the next section. Thank you.Happy App Developing!!