Android Content Provider is more or less an advanced topic to be discussed in this section, but a preliminary introduction is also required as it is a very important concept for andriod app development. We already have an idea of Android content provider since this term was introduced in chapter one. Let us dive little deeper into Android content providers.

Figure Communication between two Android processes via Content Providers
Entire communication system is like client server architecture. Two objects are explicitly created in either side of client-server architecture respectively. ContentResolver object communicates with the provider object. It is the provider object which accepts request, processes the requested action and returns the result. So we can split this set up into two client server architecture. See the diagram below and it would be crystal clear.

Figure Simplified illustration of communication set up between processes and content providers
- Data is presented to external applications in the form of tables.
- This is a recommended form for sharing data in android system.
- This communication is across various packages. It is like a storehouse of data, i.e. it is a data repository.
- It is like a database where you can insert, delete, query data but, unlike database, data can be kept in different forms.
- Android has content providers which manage audio, video, contacts, etc. Thus content providers provide an interface which will publish data by content resolver object.
Content Provider API is used to share data. This query is done by a URI mechanism. the client is not aware of the location of data. It just sends the query to OS which is then resolved with the help of URI. User can create his/her own content provider. To query content provider there is a specific format and query can be presented in the form of URI.
<prefix>://<authority>/<data_path>/<id>
- id: Particular record number is specified.
- data path: it indicates the type of data required.
- authority: It is the name of content provider.
- prefix: it is always content://
For example, content://media/internal/image where,
- Standard prefix is content://
- Authority is media
- Data path is internal
- Id is image
Content providers can perform the basic CRUD operations i.e. Create, Retrieve, Update and Delete. This is made possible by the ContentResolver methods and it allows persistent storage. ContentResolver object of client application and ContentProvider object of application handle the inter-process communication. To access a provider, we need to set certain permissions.
3.5.1 Android Content Provider Example
Following listing is an example content provider where we are using the available content provider. Open a project and name it as you like. For me ContentProviderEx will work. Choose target SDK 2.2 or API level 8 as it worked for me and for beginners, this is the best stable version. Now first of all, open the xml file and type the code as shown in the listing:
<LinearLayout xmlns:android="http://schemas.android.com/apk/res/android"
    android:layout_width="fill_parent"
    android:layout_height="fill_parent"
    android:orientation="vertical" >
    <ListView
       android:id="@+id/android:list"
       android:layout_width="fill_parent"
       android:layout_height="wrap_content"
       android:layout_weight="1"
       android:stackFromBottom="false"
       android:transcriptMode="normal" >
    </ListView>
    <TextView
       android:id="@+id/Name"
       android:layout_width="wrap_content"
       android:layout_height="wrap_content"
       android:textStyle="bold" />
    <TextView
       android:id="@+id/ID"
       android:layout_width="fill_parent"
       android:layout_height="wrap_content" />
</LinearLayout>
xml file of ContentProviderEx app
The graphical layout of the file should look like the snapshot shown below:
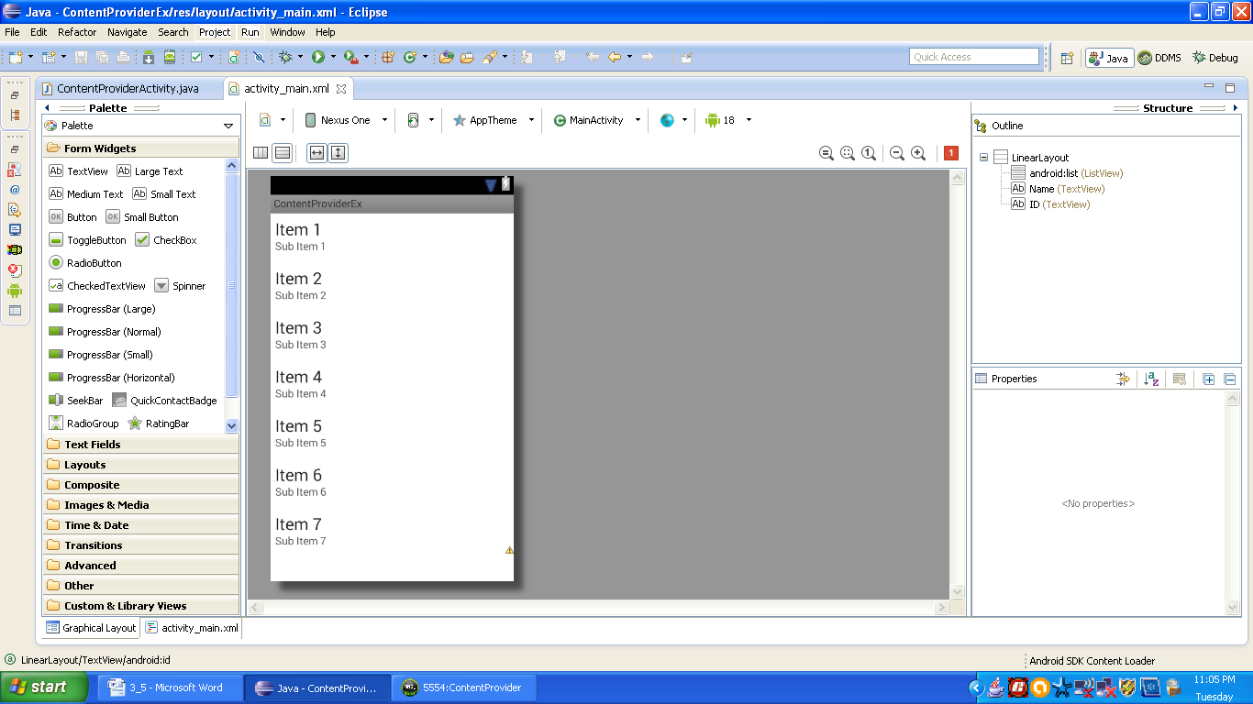 Figure Snapshot of graphical layout of content provider
Open your MainActivity.java file and add following lines of code:
package com.android.tution.contents;
import android.net.Uri;
import android.os.Bundle;
import android.provider.ContactsContract;
import android.app.ListActivity;
import android.database.Cursor;
import android.widget.SimpleCursorAdapter;

public class ContentProviderActivity extends ListActivity {
    @Override
    public void onCreate(Bundle savedInstanceState) {
        super.onCreate(savedInstanceState);
        setContentView(R.layout.activity_main);
        Uri allContacts = Uri.parse("content://contacts/people");
        Cursor c = managedQuery(allContacts, null, null, null, null);
        String[] columns = new String[] {
                     ContactsContract.Contacts.DISPLAY_NAME,
                     ContactsContract.Contacts._ID };
        int[] views = new int[] { R.id.Name, R.id.ID };
        SimpleCursorAdapter adapter = new SimpleCursorAdapter(this,
                R.layout.activity_main, c, columns, views);
        this.setListAdapter(adapter);
    }
}
java file of ContentProviderEx App
Open the manifest file and add or edit the missing lines in your app’s manifest. You need to set the uses-permission. It is highlighted and this permission should be added under the appropriate tag as shown below:
<?xml version="1.0" encoding="utf-8"?>
<manifest xmlns:android="http://schemas.android.com/apk/res/android"
     package="com.android.tution.contents"
     android:versionCode="1"
     android:versionName="1.0" >
     <uses-sdk
        android:minSdkVersion="8"
        android:targetSdkVersion="8" />
     <uses-permission android:name="android.permission.READ_CONTACTS"/>

     <application
         android:allowBackup="true"
         android:icon="@drawable/ic_launcher"
         android:label="@string/app_name"
         android:theme="@style/AppTheme" >
         <activity
            android:name="com.android.tution.contents.ContentProviderActivity"
            android:label="@string/app_name" >
            <intent-filter>
                 <action android:name="android.intent.action.MAIN" />
                 <category android:name="android.intent.category.LAUNCHER" />
            </intent-filter>
        </activity>
     </application>
</manifest>
manifest file of ContentProviderEx app
Now create your emulator and choose API level 8 (Android 2.2). Run your application. You would see a blank page. This is because contacts of your virtual device or emulator are empty. Go back to the main menu and open the contacts of the device. After opening, you will be presented with a form to add derails for the new contact. Your emulator should look like the snapshot given below:
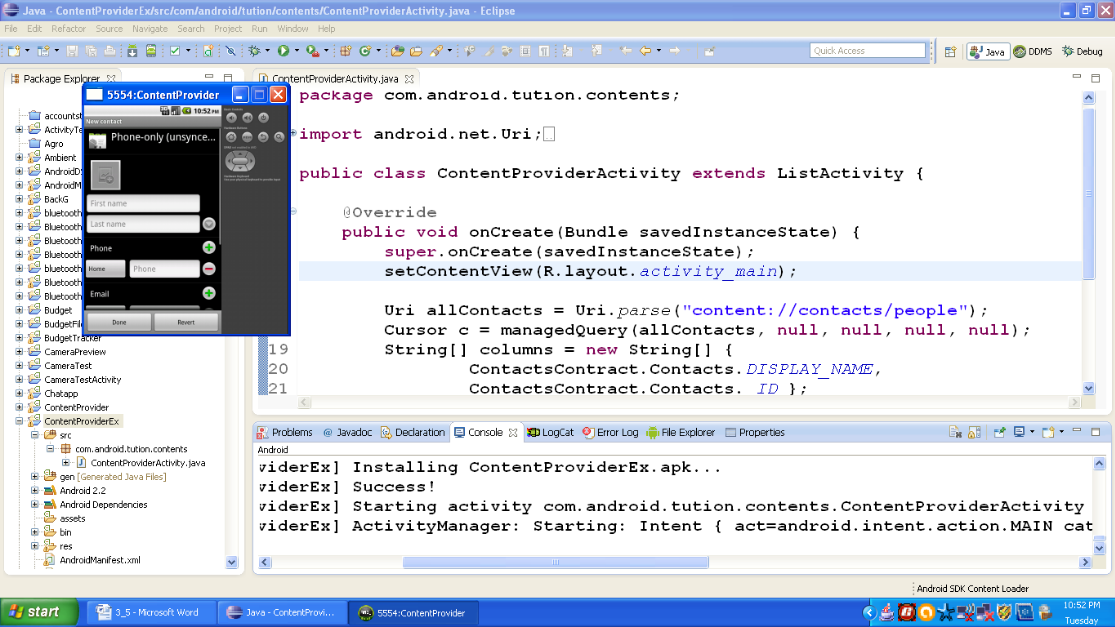
Figure Snapshot of contacts app of device to add a new contact
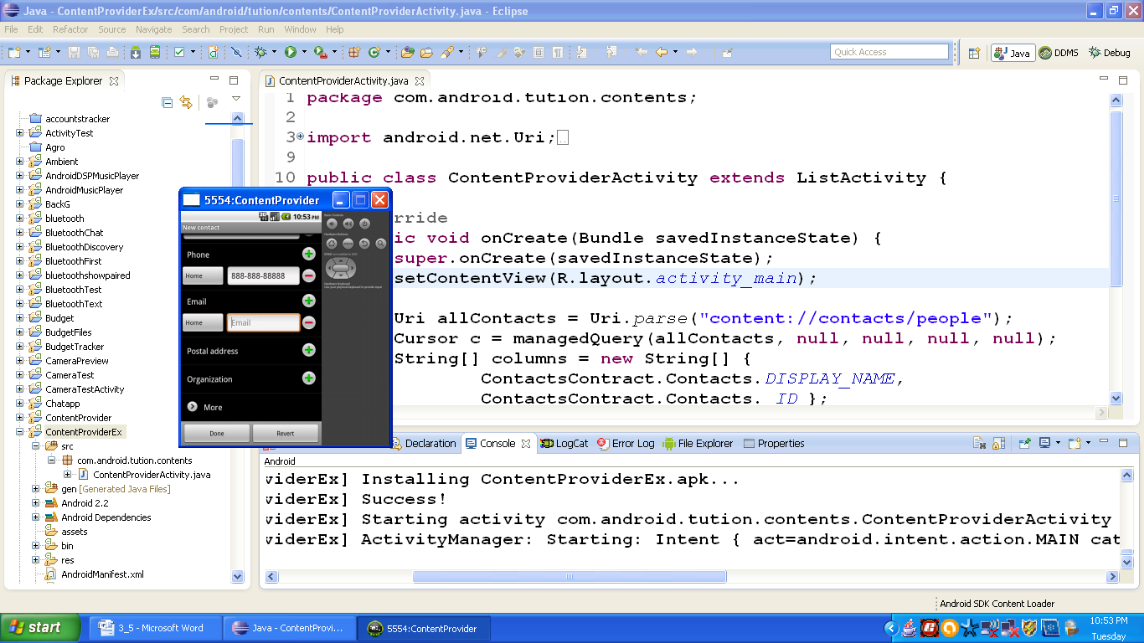
Figure Snapshot of adding new contact in virtual device
After pressing the Done button. Go back to menu. Click the app icon on emulator. At this stage, emulator should look like the following snapshot.
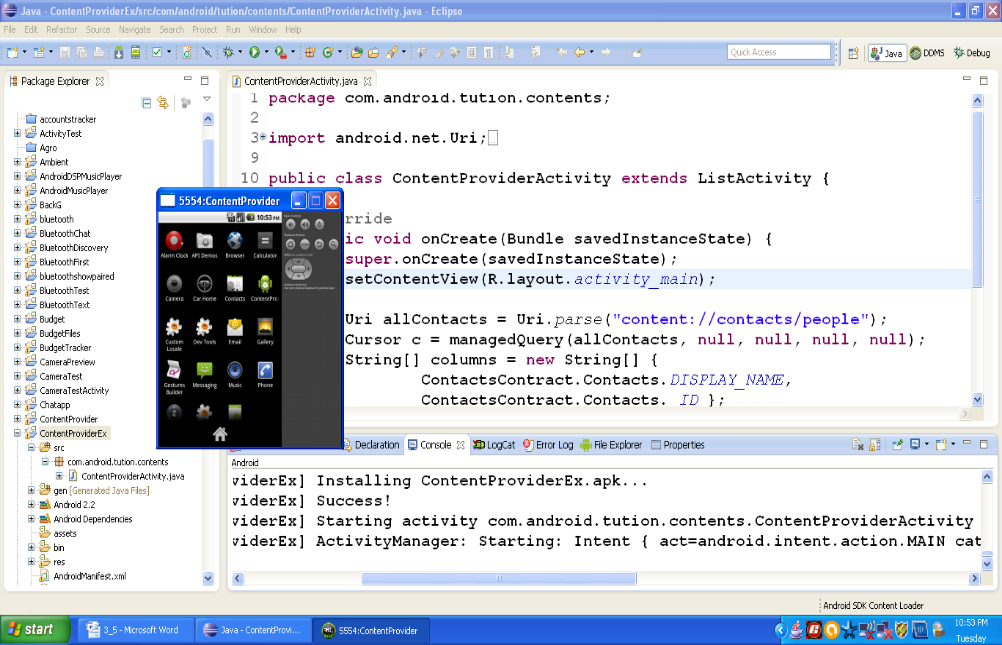
Figure Snapshot of menu
Here is the output of our Android app. All the contacts stored in our device are listed. You may add any number of contacts. This app will display all the contacts stored by you. In our code, we wanted to display the id number and name of the contact. With a little modification in code we can display other information also
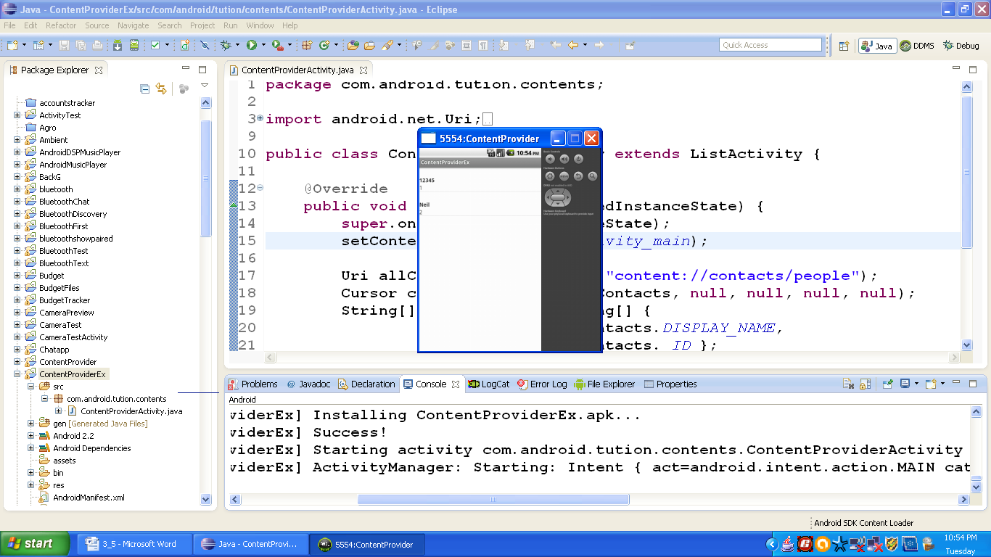
Figure Output of ContentProviderEx App
Just make sure one thing that the target API version should not exceed “API 11” as there are few things which are deprecated in newer versions. This example is just given to explain the working of the content provider. There are few concepts which are pre-required to work with content providers for newer versions. Don’t worry, we shall cover the content provider for newer versions after we complete database.
3.5.2 Dissection of code
Consider the following lines of code:
         Uri allContacts = Uri.parse(“content://contacts/people”);

         Cursor c = managedQuery(allContacts, null, null, null, null)

         String[] columns = newString[] {
             ContactsContract.Contacts.DISPLAY_NAME,
             ContactsContract.Contacts._ID};

         int[] views = new int[] {R.id.contactName, R.id.contactID};

         SimpleCursorAdapter adapter =
              newSimpleCursorAdapter(this, R.layout.main, c, columns, views);

         this.setListAdapter(adapter);
Figure Code snippet of ContentProviderEx app
Content provider stores data in rows and columns. The column names are stored in provider. A row’s locale is called by a column’s label. Thus provider takes _ID as the primary key and auto increments it according to demand. In our example, we have contacts table:
_ID | DISPLAY_NAME | …………… |
1 | abc | ……. |
2 | Neil | ……. |
… | … | ….. |
Figure example of contacts table
Now you must be thinking where is contentResolver object? Consider the following:
Cursor c = managedQuery(allContacts, null, null, null, null);
This is equivalent to:
Cursorc=getContentResolver().query(allContacts,null,null,null,null);
startManagingCursor(c);
managedQuery() is a method which retrieves the managed cursor. The getContentResolver()method returns a ContentResolverobject and it helps to resolve a content URI with the appropriate content provider. The getContentResolver().query() method gives us the list. This query() method calls the CotentProvider().query() method which is defined in contacts provider. General format is as shown below:
Cursor cursor=getContentResolver().query(“Contents_URI”, projection, Selection_criteria, Selection_args, Sort_order);
Where,
Contents_URI is the mapping to the provider’s table name
Projection is an array which includes the columns to be included in each retrieved row.
Selection_criteria specifies the criteria of selection
Selection_args represents the arguments of selection’
Sort_order is the order in which the rows should be retrieved in cursor.
In our example, Contents_Uri is allContacts, Other fields are set to null
We already know the standard form of content provider <prefix>://<authority>/<data_path>/<id>
In our example, we have: “content://contacts/people”
Here, the prefix is content, authority is contacts, data-path is people. Where is the id? Right! Well, we have not specified any particular id and that is the reason why we retrieved all contacts stored in the device. For a particular record the id field should be specified.
The SimpleCursorAdapterobject maps a cursor to TextViews(or ImageViews) defined in your XML file (activity_main.xml). It maps the data (as represented by columns) to views (as represented by views). ContentResolver.query() method is a client method which always returns a cursor. This cursor contains the columns which are specified by query’s projection. Cursor object provides a random read access to the rows and columns which is contained in it.
So we are done with section, hope you enjoyed developing your own third android application. See you in the next sub-section. Happy app developing!!
