
Hello readers!! Hope you enjoyed our last section. We already know what is intent, today we shall learn more on intents i.e., intents for interprocess communication. Let us not waste time and pursue on more on intents.
12.3.1 Intents for interprocess communication
As we already know android hosts a variety of applications. Android has a specific requirement that applications should not fall in the cobweb of duplication of code. Intents enable an application to select an Activity based on the action it is designed to invoke and the data on which they operate. If we take in other words then it does not need a hardcoded path to an application to use its functions and exchange data with it. Bidirectional flow of data is allowed i.e., data can be passed in both ways using intent objects which In turn becomes a high-level system of interprocess communication.
With intent objects applications specify activity or service. Intent objects deliver data from one application to another. So we can say it provides a simple form of interprocess communication.
12.3.2 Intent objects and Activity objects
- Context and activity: An activity is the first stepping stone is building a user application. It provides the space to the user for doing anything and everything. For example, opening a contact, dialing a caller, etc. everything is done by interacting with a window and that very window is provided by an activity. The Context class is a parent class of Activity and Service. It contain methods For sending Intent objects from one activity to another activity which may belong to same process or different that does not matters.
- Intents: The methods called startActivty() and startActivityForResult() are used for passing objects from one process to another. Intent class has constructors, accessors, and other utilities for handling the content of an Intent object for itself but unfortunately it does not contain any method for navigating Intent objects. We have set of accessors called putExtra() with which we can use different arguments and hence can attach different or “extra” data to an intent. This “extra” data can be used for achieving interprocess communication
Activity objects navigate through the hierarchy o user interfaces. The user interfaces consist of a linked web or hierarchy of “screens” i.e., user interface views that occupy the whole screen. This excludes areas where titles and indicator icons are displayed and where soft-key labels are displayed (if any). Generally these hierarchies are implemented by a single program that manages a “stack” of screens backward from the current screen and sometimes forward as well. Using interprocess communication Intent and Activity objects work together to link different parts of different applications’ user interfaces into a coherent user experience with navigation that is unified and seamless when moving between applications.
Android can make separate Activity objects in separate programs seem of-a-piece. The startActivityForResultmethod navigates to a UI that obtains information and returns it. Let us create some examples to make things clear to you as practical is always is better than theoretical.
12.3.3 Example
Create a project and name it as you like. I am naming it as IPCExample. This example is just a sample app which will demonstrate implementation of such concept. Open the activity_main.xml file and populate the file as shown in the following listing:
<RelativeLayout xmlns:android="http://schemas.android.com/apk/res/android"
    xmlns:tools="http://schemas.android.com/tools"
    android:layout_width="match_parent"
    android:layout_height="match_parent"
    android:paddingBottom="@dimen/activity_vertical_margin"
    android:paddingLeft="@dimen/activity_horizontal_margin"
    android:paddingRight="@dimen/activity_horizontal_margin"
    android:paddingTop="@dimen/activity_vertical_margin"
    tools:context=".MainActivity" >
    <TextView
        android:id="@+id/textView1"
        android:layout_width="wrap_content"
        android:layout_height="wrap_content"
        android:text="@string/hello_world" />
    <Button
        android:id="@+id/goaway"
        android:layout_width="fill_parent"
        android:layout_height="wrap_content"
        android:layout_alignLeft="@+id/hello"
        android:layout_below="@+id/hello"
        android:layout_marginTop="92dp"
        android:text="Bye" />
    <Button
        android:id="@+id/hello"
        android:layout_width="fill_parent"
        android:layout_height="wrap_content"
        android:layout_alignLeft="@+id/textView1"
        android:layout_below="@+id/textView1"
        android:layout_marginTop="50dp"
        android:text="Hello" />
</RelativeLayout>
Figure activity_main.xml
Graphical layout of application should look similar to the following snapshot:
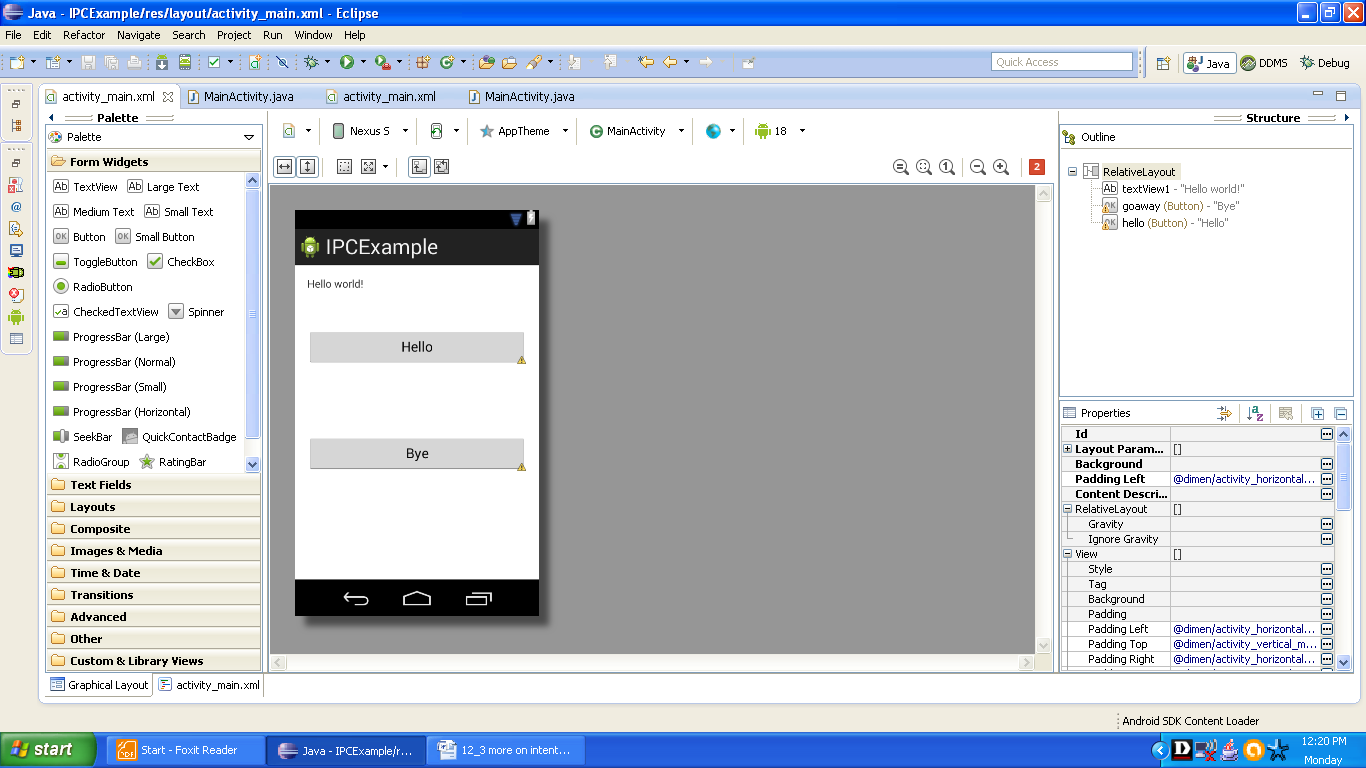
Figure Graphical snapshot of app
Now populate the main activity file as shown in the following listing:
package com.android.tution.IPC;
import com.android.tution.IPC.R;
import android.app.Activity;
import android.content.Intent;
import android.os.Bundle;
import android.view.Menu;
import android.view.View;
import android.view.View.OnClickListener;
import android.widget.Button;
public class MainActivity extends Activity {
    @Override
    protected void onCreate(Bundle savedInstanceState) {
        super.onCreate(savedInstanceState);
        setContentView(R.layout.activity_main);
        ((Button) findViewById(R.id.hello)).setOnClickListener(helloListener);
        ((Button) findViewById(R.id.goaway)).setOnClickListener(goAwayListener);
    }
    private OnClickListener helloListener = new OnClickListener() {
        public void onClick(View v) {
            returnResult("Hello,Android!");
        }
    };
    private OnClickListener goAwayListener = new OnClickListener() {
        public void onClick(View v) {
            returnResult("Get off!");
        }
    };
    void returnResult(String greeting) {
        // Create the Intent object
        Intent i = new Intent();
        // Put an extra named "result" in the intent
        i.putExtra("result", greeting);
        // Make this Intent the result for this activity
        setResult(RESULT_OK, i);
        // End this activity
        finish();
    }
    @Override
    public boolean onCreateOptionsMenu(Menu menu) {
        // Inflate the menu; this adds items to the action bar if it is present.
        getMenuInflater().inflate(R.menu.main, menu);
        return true;
    }
}
Figure main activity file
As you always do, open the manifest file as populate the file as shown in the following listing:
<?xml version="1.0" encoding="utf-8"?>
<manifest xmlns:android="http://schemas.android.com/apk/res/android"
    package="com.android.tution.IPC"
    android:versionCode="1"
    android:versionName="1.0" >
    <uses-sdk
        android:minSdkVersion="8"
        android:targetSdkVersion="18" />
    <application
        android:allowBackup="true"
        android:icon="@drawable/ic_launcher"
        android:label="@string/app_name"
        android:theme="@style/AppTheme" >
        <activity
            android:name="com.android.tution.IPC.MainActivity"
            android:label="@string/app_name" >
            <intent-filter>
                <action android:name="android.intent.action.MAIN" />
                <category android:name="android.intent.category.LAUNCHER" />
            </intent-filter>
        </activity>
    </application>
</manifest>
Figure manifest file
Create a suitable emulator and run the application Output should look similar to the following snapshot;
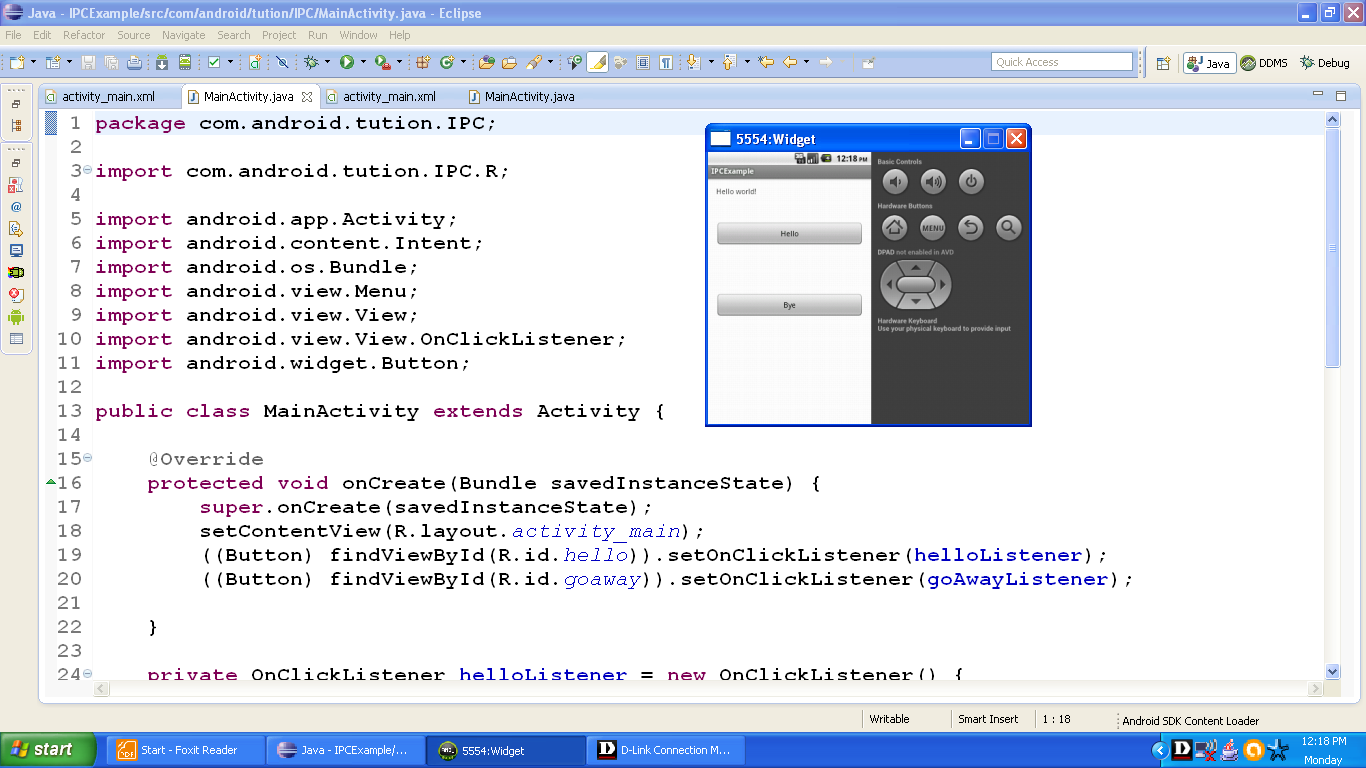
Figure Output of application
Congratulations ladies and gentlemen we have successfully completed this subsection. Hope you learned something new. See you in the next section with something new. Till then keep practicing. Happy App developing !!!