
Keep the JBOSS Runtime name as is, in the Home Directory field, type the home folder location of the JBOSS AS 7.1 - the path where you extracted JBOSS zip file, in the JRE field, choose jdk1.6, you can also use 1.7, in the Configuration File field, replace the “standalone.xml” to “standalone-full.xml”, then click the finish button, this will add the newly created server to the “Servers” view:
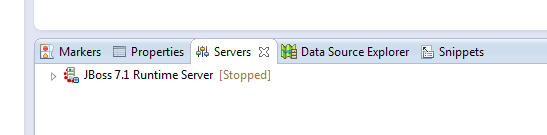
Let's test our newly added server, from the Servers view, select the server and right click on the mouse and choose “Start”, in some case for debugging issues, we will select “Debug” instead of Start

This will open the “Console” view, and will display the server output, wait until you see the following line in the Console:

In case you change nothing in JBOSS configuration files, JBOSS will listen on port 8080 for HTTP request, open the browser and hit the following URL : http://localhost:8080/, this should open the following screen:
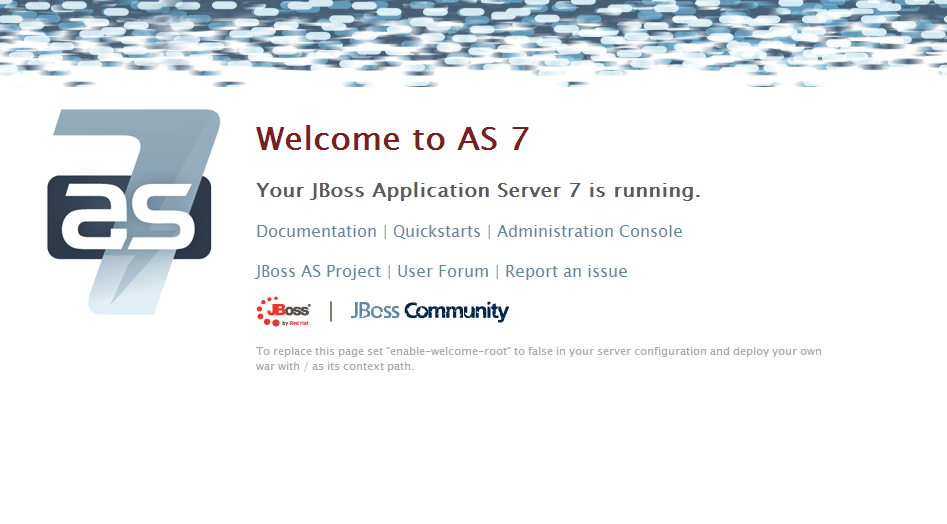
In case your browser displayed the page correctly, it means you successfully installed and configured Eclipse with JBOSS AS 7.1
Creating the EJB New Project
Now, from Eclipse main menu, select File -> New -> Enterprise Application Project
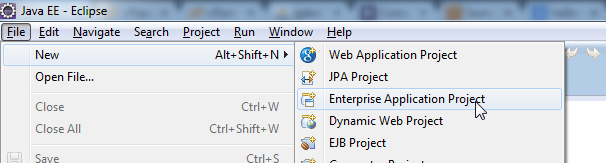
This will open the New EAR Application Project dialog
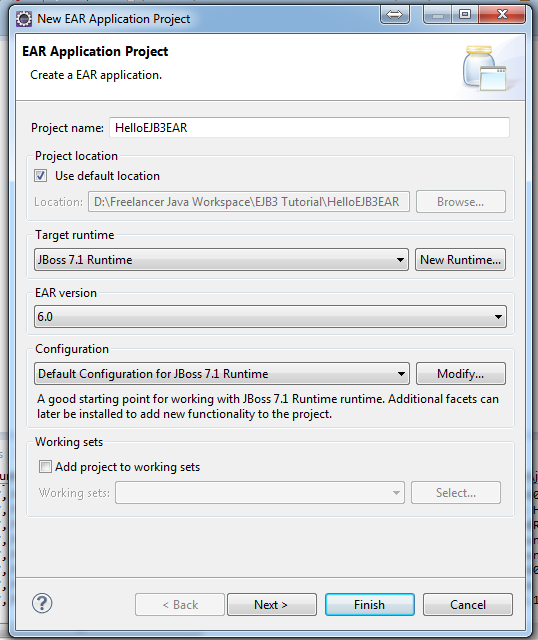
In the Project Name, type “HelloEJBeEAR”, click finish button to create the new EAR project
Now again from the File->New menu choose EJB Project
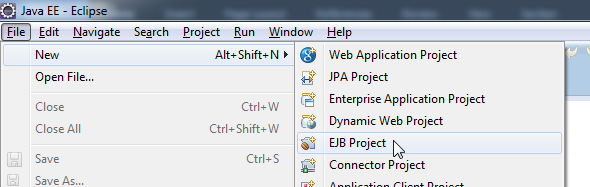
This will open the New EJB Project dialog:
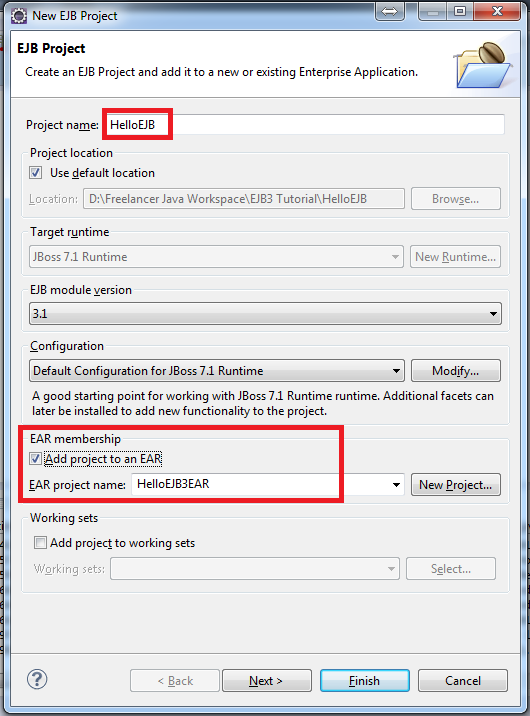
In the project name, type HelloEJB, and in the EAR membership section, check the “Add project to an EAR” checkbox and in the EAR project name choose “HelloEJB3EAR”, then click the Next button and on the next screen click again the Next button
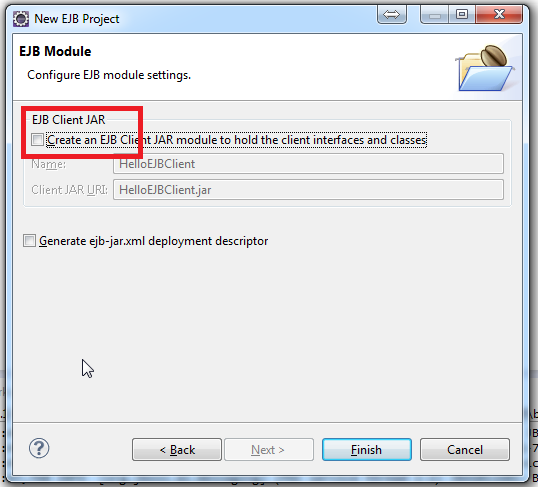
In the following screen, uncheck the “Create an EJB Client...” checkbox and click the Finish button to create the new EJB project