Grails Hello World!!! Our first Web Application using Grails
Let’s make some changes to our recently created tutorial application.
Browse your application and create a new controller named “Hello”.
To create a new controller you can:
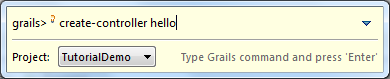
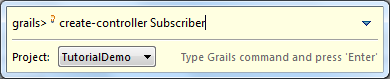
1. Use the built in Grails Command option:

When the grails command line appears, type “create-controller hello
”
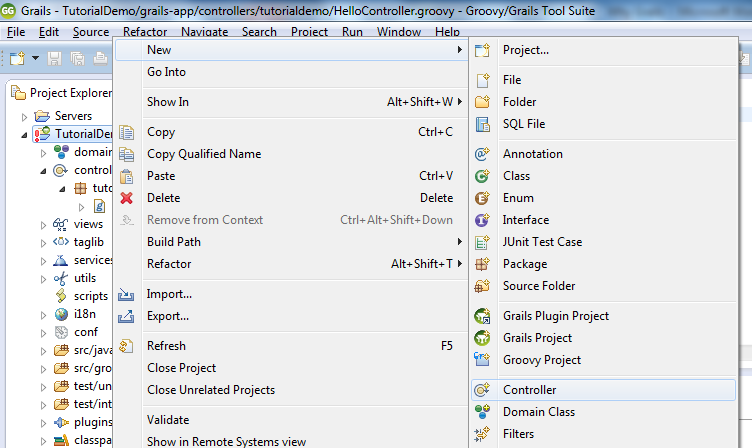
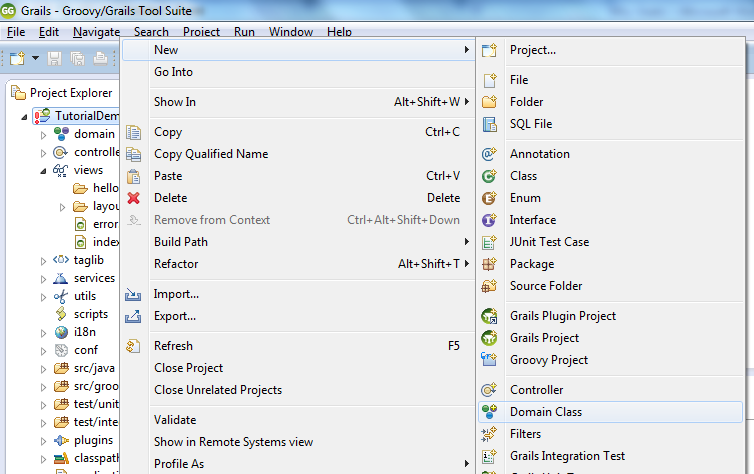
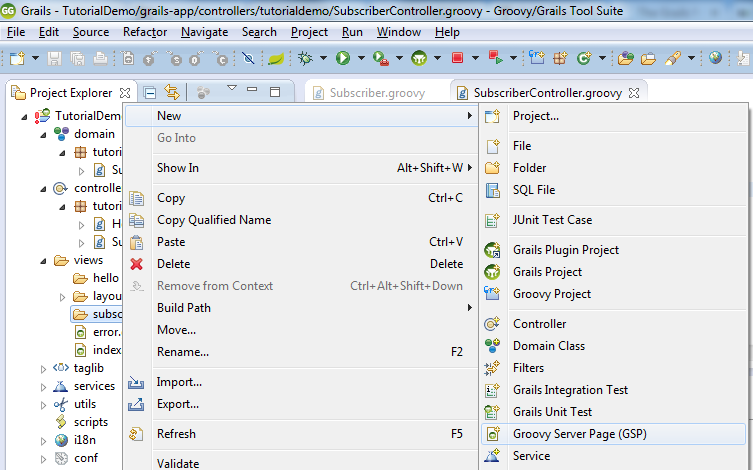
2. Right click on the Project, select New, Controller, and set the name of the Controller
.
Once completed, the create-controller command creates a new controller in your project and creates and associated unit test for the controller.
Open the newly created controller and add this line: render "Hello World! This is my tutorial."
package tutorialdemo

class HelloController {
      def index() {
        render "Hello World! This is my tutorial."
    }
}
Save the file and run your application. Browse to http://localhost:8080/TutorialDemo. The following page should be displayed, listing the new Hello controller, click on it.
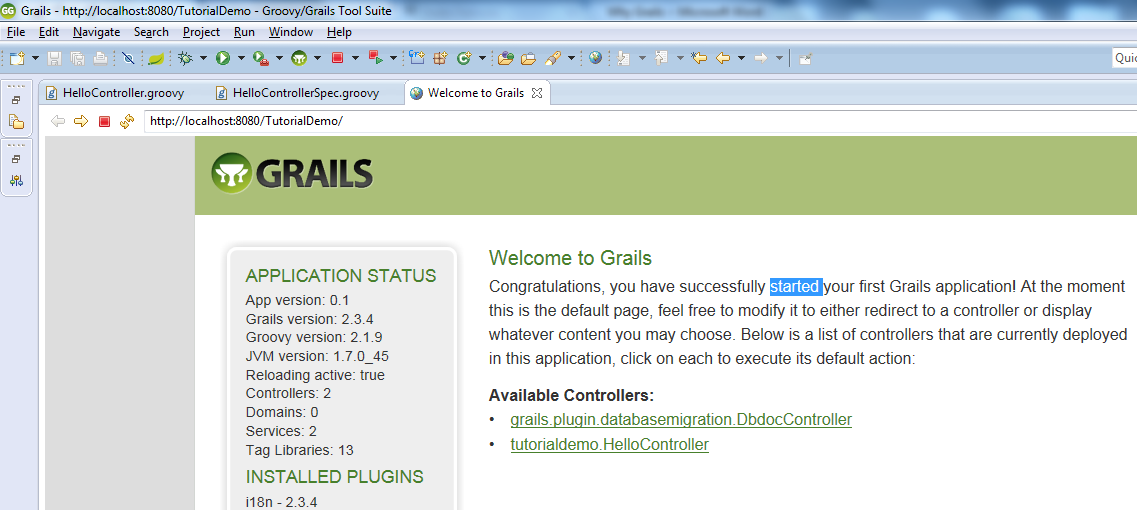
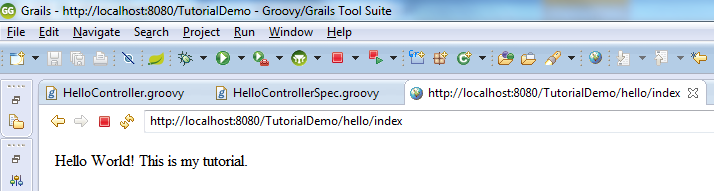
Once you click on the HelloController link, you should be redirected to http://localhost:8080/TutorialDemo/hello/index
And the following page should appear, displaying the text that you set to render in the controller class:
Creating Domain Classes
We have now our initial web application, but let’s add more complexity to it. Suppose that our web application has to manage Subscribers.
Let’s create a new domain class called “Subscriber”. You can create domain classes by:
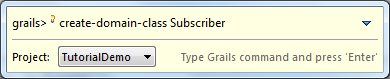
1. Use the built in Grails Command option:

When the grails command line appears, type “create-domain-class Subscriber”
2. Right Click on our application, New, Domain Class and set the name of the Domain Class
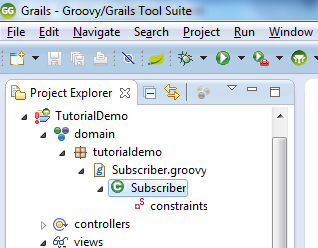
Once completed, the create-domain-class command creates a new domain class in your project.
Open the newly created domain class and add these lines:
String name;
String lastName;
String status;
package tutorialdemo

class Subscriber {

    String name;
    String lastName;
    String status;

  static constraints = {
    }
}
Creating a Controller for our Subscribers
Now that we have our entity (domain-class) Subscriber, let’s create a controller that will handle all the requests for a Subscriber.
As mentioned before, we can create a new controller by the Groovy Command line tool or by the project explorer, so go ahead and create a controller.
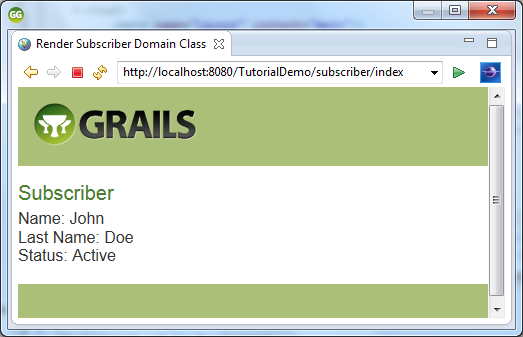
Create a view called index in the views/subscriber folder
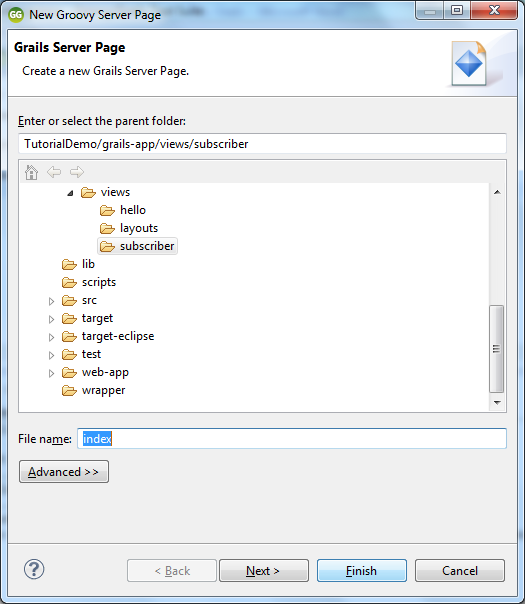
Add the following code to the recently created index.gsp file:
<!DOCTYPE html>
<html>
   <head>
      <meta name="layout" content="main"/>
      <title>Render Subscriber Domain Class</title>
   </head>
   <body>
      <h1>Subscriber</h1>
      Name: <g:fieldValue bean="${subscriber}" field="name"/><br/>
      Last Name: <g:fieldValue bean="${subscriber}" field="lastName"/><br/>
      Status: <g:fieldValue bean="${subscriber}" field="status"/><br/>
   </body>
</html>
Now let’s go back to our controller to modify the index action, so we can return a Subscriber entity to the view to be rendered.
Now, let’s modify the Subscriber controller to create a new Subscriber entity and sent it back to the view to be rendered. Add the following lines to the index method:
Subscriber subscriber = new Subscriber(name: 'John', lastName:'Doe', status:"Active")
[subscriber:subscriber]
package tutorialdemo

class SubscriberController {

       def index() {
        Subscriber subscriber = new Subscriber(name: 'John', lastName:'Doe', status:"Active")
        [subscriber:subscriber]
    }
}
So now let’s execute our application and see that we have a new SubscriberController listed, click on it and see the magic of grails happening. A new page displaying the Subscriber information is displayed!