
HTML Frames divide the web page window into several panes or sub windows, in which each window or pane is capable of holding different information.
Usually a web page is divided into different frames like a frame for heading, a frame for main content and a frame for navigating to sub-menu.
If we do not divide the web page into frames, the header and the navigation menu will disappear when you scroll down the web page and if ever you want to access the navigation menu, you have to scroll up again. But what happens when you use frames is that, we can scroll down only the frame which contains main content and the rest will be the same.
Creating Frames
- <frameset> tag is used for creating frames.
- A <frameset> element holds one or more <frame> elements.
- When we are creating frames we are actually working with multiple html documents.
- Frame windows are made from more than one html file.
- Like, a main html document tells us the no. of frames the web page is divided into and the corresponding code for each frame and the location of the code file.
- The main html document has a <head> section and a <frameset> section. It doesn’t have a <body>.element.
- Framesets may be nested to any level. (Framesets that contain other framesets)
 A Simple HTML page layout
<html>
  <head>
   ...header content….
  </head>
  <body>
   …….
  </body>
</html>
HTML layout with frames
<html>
  <head>
    ...header content….
  </head>
  <frameset attributes=" attribute values">
    …….
  </frameset>
</html>
Same as tables, we use rows and columns in frameset. The rows and cols attributes of <frameset> tag help us in determining the number of frames needed for our web page.
An example program for frames
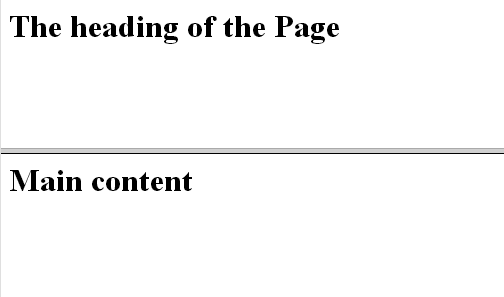
<html>
 <frameset rows="50%,50%">
   <frame src=".\top.html">
   <frame src=".\main_content.html">
 </frameset>
</html>
Instead of creating two rows, we can create two columns by using the following code
<html>
  <frameset cols="50%,50%">
    <frame src=".\top.html">
    <frame src=".\main_content.html">
  </frameset>
</html>
Now, to execute this code we need to create two files namely “top.html” and “main_content.html”
Top.html
<html>
 <body>
   <h1> The heading of the Page</h1>
 </body>
</html>
main_content.html
<html>
  <body>
   <h1> Main content</h1>
  </body>
</html>
The output of the first program i.e., when the web page is divided into equal rows is
The output of the program when divided into columns is as follows

Attributes of <frameset> tag
| Attribute | Values | Description |
| rows | pixels, %, * | It is used to specify rows in a frameset and also the size of each row. |
| We can specify height of each row using the absolute value in pixels like rows=”100,200” or percentage of browser window like rows=”25%, 75%” or a wild-card symbol like rows=”40%, *”. In this case, the ‘*’ symbol takes the remaining window space. | ||
| cols | pixels, %, * | It works like rows attribute. It is used to specify columns in a frameset and the size of each column. The width of each column can be specified by using the methods discussed as above. |
| border | number | Specifies the thickness of frame border in pixels. |
| frameborder | 0 or 1 | Specifies whether border should be present between frames or not. “ |
| 0 - No border between frames | ||
| 1- Border between frames. | ||
| framespacing | number | Specifies the thickness of spacing between the frames. |
The <frame> tag
So, we have divided the web page into frames and now we use < frame> tag to specify which web page to load in the frame.
- Frame element is an empty element that is does not contain any content.
- But we have to specify at least one attribute for this element.
The following attributes help us in using <frame> tag
| Attribute | Values | Description |
| src | URL of the source file | Indicates the URL of the file to be loaded in the frame |
| name | any name | this attribute assigns a name to the current frame. |
| border | number | Specifies the thickness of frame border in pixels. |
| frameborder | 0 or 1 | Specifies whether the border of the frame should be made visible or not. |
| 0 - Invisible | ||
| 1- visible | ||
| scrolling | yes, no or auto | Specifies the scrolling information of the frame. |
| yes- scrolling is not allowed | ||
| no- Scrolling is not allowed | ||
| auto - provides the scrolling when needed. This is the default value. | ||
| noresize | noresize | By default you can resize a frame by clicking and dragging. So, this attribute turns of frame resizing. |
| marginwidth | value in pixels | Specifies the width(space) to be left between the border and content of the frame in its left and right margins. Simply, it takes care of the frame’s horizontal margins. |
| marginheight | value in pixels | Specifies the height(space) to be left between the border and content of the frame in its top and bottom margins. Simply, it takes care of the frame’s vertical margins. |
| longdesc | URL | The file specified in the URL contains a long description of the contents of the frame. |
We also have another element called <noframes> in HTML. The content enclosed within these tags is displayed whenever the browser does not support frames. For example,
<noframes>
Sorry! Frames are not supported in this browser.
</noframes>
Accessibility of frames
In frames, we can actually redirect the hyperlinks of a frame to load its content in a separate frame. This is one of the coolest things we can do with frames.
How is that possible?
As we have seen, we can assign names to the frames, these names are used when we want to load a frame’s content into another frame. “target “ attribute of anchor(hyperlink) tag is used for specifying the target frame to load the content.
It looks a bit complex but it is very simple if you understand.
See in the below example, we have divided the web page into two frames which occupy 25% of the web page and the other frame occupies the remaining space. We have named them “left_frame” and “right_frame” respectively.
Now, take a look at “left.html”, it contains an anchor tag to an image of Sunset and we have specified the browser to load its content in a frame which has the name as “right_frame”. Now, the sunset image will be shown in the right_frame when you click on “click here to see Sunset”.
The example program is
<html>
<frameset cols="25%, *">
<frame src=".\left.html" name=" left_frame">
<frame src=".\right.html" name="right_frame">
 </frameset>
</html>
left.html
<html>
<body>
<a href=".\Sunset.jpg" target="right_frame"> Click here to see sunset</a>
</body>
</html>
right.html
<html>
<body>
<img src=”.\forest.jpg”>
</body>
</html>
The output of the above program would be
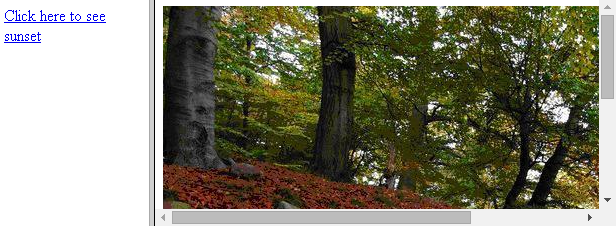
If you click on Click here to see sunset, the output would be

Note: Use relative or absolute paths whichever works out for linking images and files into your examples.
We can make it load in the left frame by specifying the value in the target attribute as “_self” i.e., load the content in the current frame itself.
The target attribute can take the following values
- _self - Loads the page into the current frame. This is the default value.
- _blank - opens a new window and loads the content into it.
- _top - Loads the page to the original window by replacing the current content in them.
- _parent - Loads the content into the parent window.
Some points to remember,
- Every frame name should be unique.
- If you do not specify the target attribute, the link will load in the same frame.
- So, it is always a good practice to set the target attribute by doing so you are aware of where each link will load.
- To validate your code use the following DTD only as it allows the framesets.
<!DOCTYPE HTML PUBLIC "-//W3C//DTD HTML 4.01 Frameset//EN"
"http://www.w3.org/TR/html4/frameset.dtd">
- One more important thing is that, Frames are not supported in HTML5.
Inline Frames
- Inline frames are shortly known as Iframes.
- It uses the tags <iframe> and </iframe>
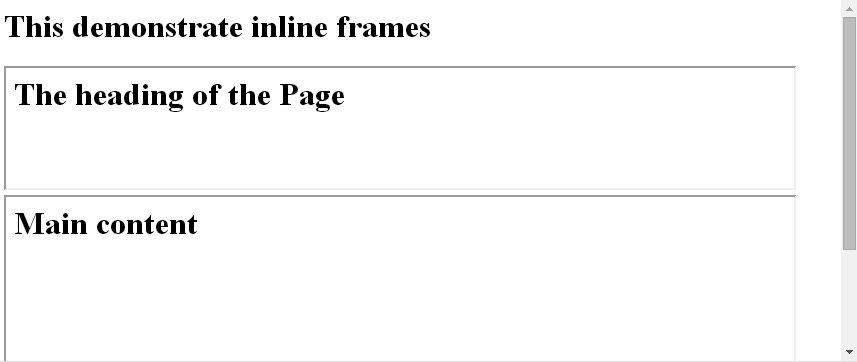
- They are same like regular frames except that they are specified inline. Meaning, the <iframe> tag is specified in the <body> tag of normal HTML page.
- Each inline frame window is embedded within a web page and its attributes are specified there itself.
Like this,
<html>
<body>
<h1> This demonstrate inline frames </h2>
<iframe src=".\top.html" height=120 width=95%> </iframe>
<iframe src=".\main_content.html" height=300 width=95%> </iframe>
</body>
</html>
The output of the above program would be
This is all you have to learn about HTML-frames as a beginner, in the next chapter we will learn about HTML- Colors.