
Introduction
Today's mobile devices contain small electronic compasses that help the device to identify what direction it is moving. PhoneGap's Compass API offers methods using which you can develop mobile apps that use compass. You can use the getCurrentHeading method of compass object to get the direction that the device is pointing at a specific point of time. If you want to get the direction information over a period of time, then you can use the watchHeading method and then clear the watch using watchHeading method once you are done. The magneticHeading property returns the heading in degrees.
Create an App
Let us create an iOS app that displays the direction that the device is pointing in degrees. Create an iOS mobile app named iOSCompass on the desktop. Once the project is created on the desktop, open the folder and double click the iOSCompass.xcodeproj icon to launch the project. Now the project is opened in the XCode environment. Again go back to the project folder on the desktop, open the index.html file inside the www folder using your favourite text editor and clean it up. You can also change the title to “Get Direction” to make it more relevant.
We are going to use the watchHeading method because we plan to display the information as soon as the page is loaded. We need to add a <div> to display the information. We will clear the watch when the application exits, that is when the unload event is called.
Now add the following lines of code inside the <body> section.
<div id="heading"></div>
Add the following lines of code inside the <head> section to check whether the device is ready.
<script>
   window.onload = function()
   {
      document.addEventListener("deviceready", init, false);
   }
      function init()
   {
   }
</script>
Once the device is ready, we will call the watchHeading method. The first parameter of this method is a call back function that provides the compass heading information through a compassHeading object, second parameter is a call back function that is called in case of an error and the third is an optional parameter which is a JSON object that sets values to customize the retrieval. Inside the third parameter, you can set the value of frequency in milliseconds to decide how often the compass heading should be retrieved and value of filter to decide the change in degrees required to initiate a watchHeading success callback.
We need to have a variable to set the id returned by watchHeading method and later to pass to the clearWatch method once we are done. So, declare a variable named myWatch just below the opening <script> tag.
var myWatch;
Add the following line of code inside the init function.
myWatch = navigator.compass.watchHeading(callbackSuccess, callbackError);
Next we need to write the callbackSuccess and callbackError call back functions. Add the following lines of code inside the <script> section.
function callbackSuccess(heading)
{
var direction = heading.magneticHeading;
var text;
if (direction>0 && direction<90)
text = "NE";
else if(direction>90 && direction <180)
text = "SE";
else if(direction>180 && direction<270)
text = "SW";
else if(direction>270 && direction<360)
text = "NW";
else
text = "";
document.getElementById('heading').innerHTML = "Direction: " + direction + "°".sup() + " " + text;
}
function callbackFailure(error)
{
alert("Compass Error: " + error.code );
}
We set the value "NE, "SE", "SW" or "NW" based on the angle. The value "°" is to display degree and we use the sup() method to display the value as super script.
Next we need to clear the watch. This time we are going to do it inside the unload event. Add the following lines of code inside the <script>.
window.onunload = function()
{
   navigator.compass.clearWatch(myWatch);
}
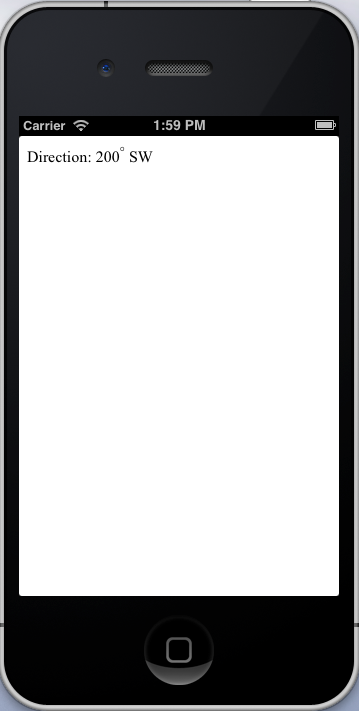
Save the index.html file. Now you can test this project. But unfortunately, we cannot test this on an emulator of course because we cannot move our emulator practically. You need to have a real device to test this app. For the time being, you can hard code the value of heading.magneticHeading (that is value of direction) inside the init function and then test the app on an emulator. If you set the value of direction to 200, your output will look like this:
Though we have just displayed the details in plain text, you can display the details as in a real compass. You can add a circle using an HTML5 canvas and then draw a line at the required angle. HTML5 <canvas> is a wonderful element to create animations and drawings. Add the following line of code just below the
<div> inside the <body> section.
<canvas id="compass" width="220" height="220">Clock</canvas><br/>
Add the following lines of code at the end of the onSuccess function inside the <script> section.
var canvas = document.getElementById("compass");
var context = canvas.getContext("2d");
centerX = canvas.width / 2;
var centerY = canvas.height / 2;
var radius =  100;
//draw two circles
context.strokeStyle = "black";
context.lineWidth = 2;
context.beginPath();
context.arc(centerX, centerY, radius, 0, 2 * Math.PI, false);
context.arc(centerX, centerY, radius-10, 0, 2 * Math.PI, false);
context.stroke();
context.closePath();
//draw center point
context.beginPath();
context.arc(centerX, centerY, 2, 0, 2 * Math.PI, false);
context.fillStyle = "black";
context.fill();
context.closePath();
//draw 4 lines at north, east, west and south
var i = 4;
context.strokeStyle = "black";
context.lineWidth = 2;
while(i > 0)
{
context.save();
            context.beginPath();
            context.translate(centerX, centerY);
            var angle = (i * 90) * Math.PI/180;
            context.rotate(angle);
            context.translate(0, -radius);
            context.moveTo(0, 0);
            context.lineTo(0, 10);
            context.stroke();
            context.closePath();
            context.restore();
            i --;
}
//write N, E, W and S for north, east, west and south
context.font="20px Arial";
context.fillText("N",centerX-7, 45);
context.fillText("S",centerX-5, 190);
context.fillText("E",180, centerY+5);
context.fillText("W",23, centerY+8);
//draw line at required angle
context.save();
context.beginPath();
context.strokeStyle = "red";
context.translate(centerX, centerY);
context.rotate(-180 * Math.PI/180);
context.rotate(direction * Math.PI/180);
context.lineWidth = 5;
context.moveTo(0, 0);
context.lineTo(0, radius-30);
context.stroke();
context.closePath();
context.restore();
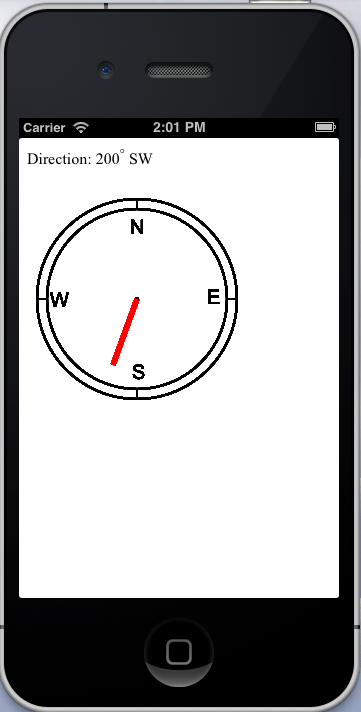
I am not explaining the above lines of code as it is out of the scope of this tutorial. You need to know the basics of HTML5 <canvas> properties and methods to understand this.
Now if you run the app on iOS simulator (direction value being hard coded), you will get a screen like this:
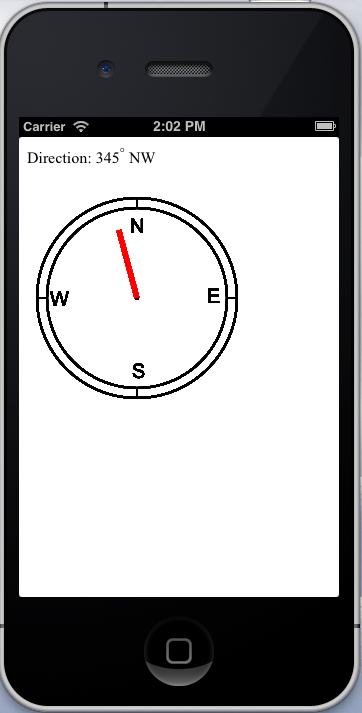
If you change the value of direction from 200 to 345, your screen will look like this:
You will get more accurate results if you test this on a real device.
Summary
In this tutorial, we have created an app that tracks the direction of the mobile device using compass API. You can even create an animated compass in such a way that a needle moves when the direction value changes using HTML5 <canvas> element.