
Introduction
Millions of mobile users use their mobile phones to listen to music, watch movies or even to complete their online video tutorials. This increases the demand of multimedia apps. But the sad fact is that the API provided by PhoneGap, the Media API, is not that great in handling multimedia. If you go to the official site of PhoneGap and look for multimedia support at the address http://docs.phonegap.com/en/1.8.1/cordova_media_media.md.html#Media, you could find that “The Media object provides the ability to record and play back audio files on a device”. Have you noticed the word audio? Yes, as of now, PhoneGap supports only audio files. There is one more note saying that “The current implementation does not adhere to a W3C specification for media capture, and is provided for convenience only. A future implementation will adhere to the latest W3C specification and may deprecate the current APIs.”. This means that the current interface, might be changed at anytime with a future version of PhoneGap.
But, we do not have to worry as PhoneGap uses HTML5 for its implementation. HTML5 offers two wonderful elements <audio> and <video> to embed audio and video files respectively. So, in this tutorial, we will include an audio file using the PhoneGap’s Media API (just to know how it goes). We will also add another audio and a video file using the HTML5 <audio> and <video> tags.
Create an App
Create an iOS mobile app named iOSMultiMedia on the desktop. Once the project is created on the desktop, open the folder and double click the iOSMultiMedia.xcodeproj icon to launch the project in the XCode environment.
To use the Media API, you should set specific permission. As we are developing an iOS app, open the config.xml file in the www folder and add the following lines of code:
<key>Plugins</key>
<dict>
    <key>Media</key>
    <string>CDVSound</string>
</dict>
Make sure that you do not add these lines inside any other opened tag. You should add it only after a closed tag. Save the file.
Again go back to the project folder on the desktop, open the index.html file inside the www folder using your favourite text editor and clean it up. Change the title to “Audio and Video”.
Add the following lines of code inside the <body> tag.
<button id="btnPlay">Play Audio</button>
<button id="btnPause">Pause Audio</button>
<button id="btnStop">Stop Audio</button>
We are going to use these three buttons to play, pause and stop the audio file that we are going to add using the Media API of PhoneGap.
Add the following lines of code inside the <head> section to check whether the device is ready. Once the device is ready, we will add the event listeners for the three buttons for their click events.
<script>
        window.onload = function()
        {
            document.addEventListener("deviceready", init, false);
        }
        function init()
        {
            document.getElementById("btnPlay").addEventListener('click', playAudio, false);
            document.getElementById("btnPause").addEventListener('click', pauseAudio, false);
            document.getElementById("btnStop").addEventListener('click', stopAudio, false);
        }
  </script>
Next, we need to write the playAudio, pauseAudio and stopAudio functions. To create an object of Media type, you have to pass the source of the audio file as the first parameter and a callback function as the second parameter. This callback function will be invoked if the action is successful. There are two optional parameters: one is the callback function that is invoked if there is an error and the last is the callback function that is invoked to indicate status changes. The syntax is
var myMedia = new Media(src, actionSuccess, actionError, actionStatus) where the second, third and fourth parameters are the callback functions. Out of these, the third and fourth are optional parameters.
We are going to create a Media object and call the play() method inside the playAudio function. We are going to call the pause() and stop() methods inside the pauseAudio and stopAudio functions.
Add the following lines of code after the init() function.
function playAudio()
         {
            src = "http://ia801501.us.archive.org/16/items/Best100InstrumentalSongs/008-FrankMills-ThePoetAndI.mp3";
            myMedia = new Media(src, onSuccess, onError);
            myMedia.play();
         }
        function onSuccess() {
            console.log("Playing Audio");
        }
        function onError(error) {
            alert('code: '    + error.code    + '\n' +
                  'message: ' + error.message + '\n');
        }
        function pauseAudio()
        {
            myMedia.pause();
        }
        function stopAudio()
        {
            myMedia.stop();
        }
When creating the Media object, we have specified the names of callback functions, onSuccess and onError. Then, we created the callback functions to display proper messages. Now save the index.html file and run the project from the XCode environment. You will get a screen with three buttons, Play, Pause and Stop. The magic is that even with your iOS simulator, you will be able to play, pause and stop the audio. Make sure that your computer is connected to the Internet as we have specified the audio file from Internet.
Now let us add audio and video files using <audio> and <video> elements. First, download an MP3 file and an MP4 file from the Internet or create an MP3 and MP4 file using some software. Then, create a folder named media (you can name it the way you want), inside the www folder. Put the two files inside the media folder. Now add the following lines of code after the Stop button in the <body> section.
<audio controls="controls">
            <source src="media/RecordedAudio.wav" type="audio/mp3" />
        </audio><br /><br />
        <video controls="controls">
            <source src="media/SecondVideo.mp4" type="video/mp4" />
        </video>
RecordedAudio.wav is my audio file and SecondVideo.mp4 is my video file. You should replace these names with your file names. The controls attribute displays the built-in audio controls including play/pause, position slider, mute etc. You can create custom controls if you want. Then, you need to remove the controls attribute. The type attribute specifies the MIME type of the file. You should be aware that not every browser or operating system supports all types of media files. For example, if your browser does not support wav file and if you try to play a .wav file, you will not be able to play the audio.
Now you are ready to go. Save the index.html and run the project. I have used an iPad simulator because I could not see the video file when using an iPhone simulator (due to the screen size issue). You will get a screen like this:
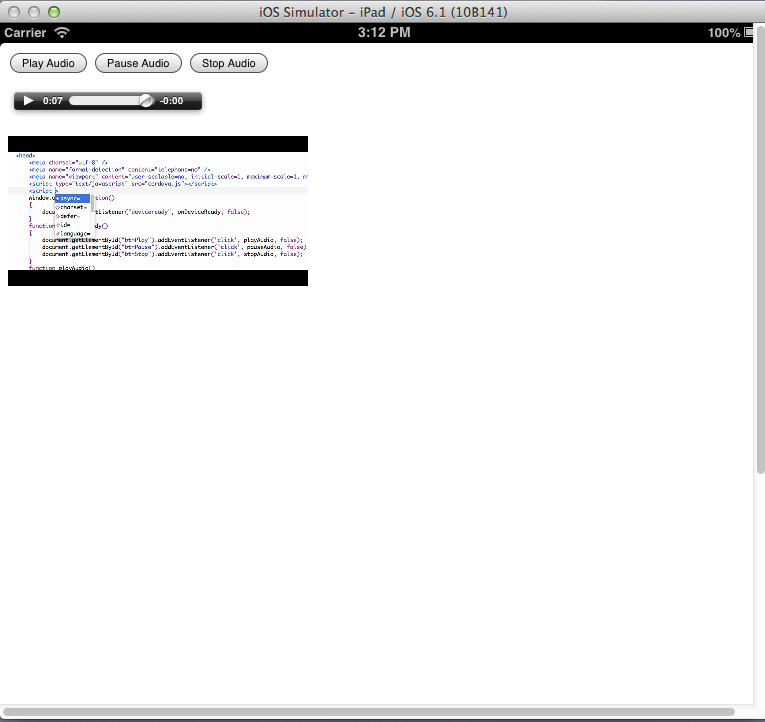
You just need to click the play button to listen to the audio or to see the video.
Summary
In this tutorial, we have created an app including audio and video files. We have embedded two audio files, one using PhoneGap's Media API and another using HTML5 <audio> element. We have also embedded a video file using the <video> element.