
8.1 INTRODUCTION TO SERVLET EXAMPLES
We have read enough about servlet concepts, about the tools and software and installed them as well. Now it is the time to start implementing what we have learned in earlier chapters.
This chapter will work on several servlet examples related to concepts we have gone through in earlier chapters.
8.2 HOW TO CREATE A NEW WEB APPLICATION PROJECT IN ECLIPSE
In this section we will discuss how to create a web application using eclipse. We can create it manually as well (refer Chapter 6 Web App Structure for more details).
To create a new project go to .
Fileà Newà Projectà Webà Dynamic Web ProjectàNext (refer below)
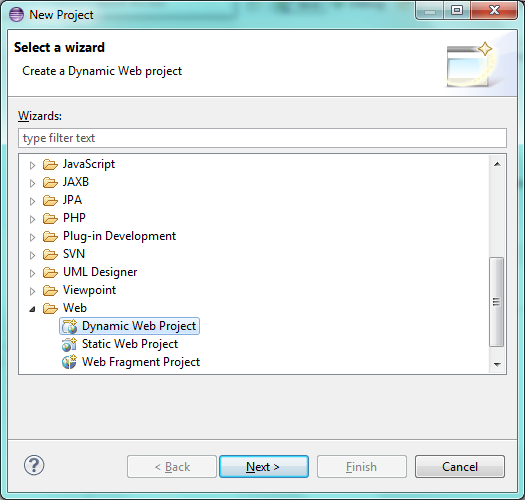
Once you click Next, new window will open (refer below)
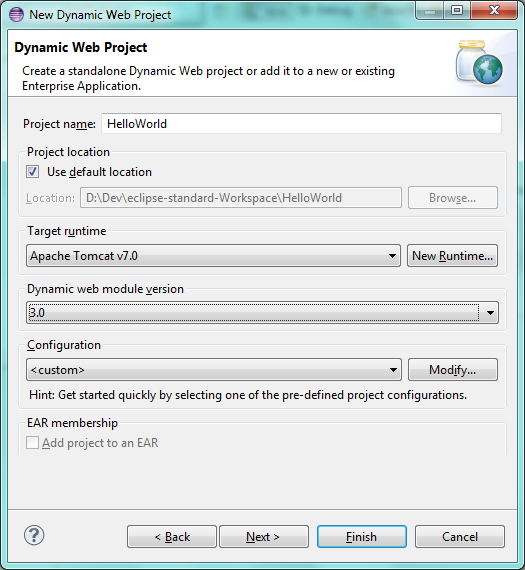
- Project Name –Give it a name. This will be the name of your web application. In above figure, web application with name “HelloWorld” will be created
- "Target Runtime", choose "Apache Tomcat v7.0"
- Leave rest all as default values .Click Finish
Once done , a new project with name “HelloWorld” will be created (refer below figure)
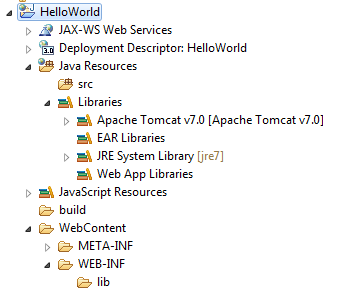
Details-
- All java code including servlets will be created under src folder
- All static contents and jsp will be created under WebContent
Create a war file and deploy
In Chapter 6, we discussed about creating a war file using command prompt. In this section we will discuss how to create a war file using Eclipse.
To do so
- Right Click on Projectà ExportàWar file

Clicking on War file, a new window will be opened (refer below). Choose a Destination as the webapps folder of your tomcat installation directory.
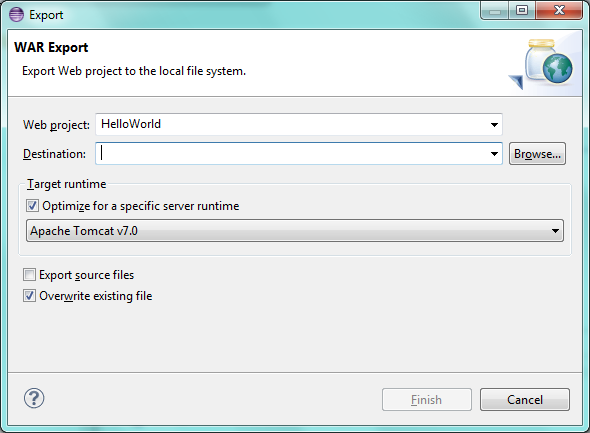
Note- You can select any destination folder and eclipse will create a HelloWorld.war file at the selected location. However, each server has its own directory from where it deploys the war file.
In case of tomcat “webapps” directory is the deployment directory and for any web application to be deployed on tomcat, it has to be placed in webapps.
8.3 SERVLET HELLO WORLD EXAMPLE
8.3.1 - Write a servlet in Hello World web application which will print Hello World message on screen. Servlet must
- extends Generic Servlet.
- inside a package com.servlets.tutorial
Solution
- Create a web.xml under WEB-INF
Define a servlet and servlet-mapping in web.xml like below. I named my servlet as “HelloWorldServlet” and its class as “com.servlet.tutorial.HelloWorldServlet”.
Url pattern configured is /hello which means on hitting http://localhost:8080/HelloWorld/hello , servlet will be invoked.
<web-app version="3.0" xmlns="http://java.sun.com/xml/ns/javaee"
    xmlns:xsi="http://www.w3.org/2001/XMLSchema-instance"
    xsi:schemaLocation="http://java.sun.com/xml/ns/javaee http://java.sun.com/xml/ns/javaee/web-app_3_0.xsd">
<servlet>
    <servlet-name>HelloWorldServlet</servlet-name>
    <servlet-class>com.servlet.tutorial.HelloWorldServlet</servlet-class>
</servlet>
<servlet-mapping>
    <servlet-name>HelloWorldServlet</servlet-name>
    <url-pattern>/hello</url-pattern>
</servlet-mapping>
</web-app>
- Create a HelloWorldServlet servlet in package com.servlet.tutorial .Servlet will extend Generic Servlet class and will override its service method.
package com.servlet.tutorial;
import java.io.IOException;
import java.io.PrintWriter;
import javax.servlet.GenericServlet;
import javax.servlet.ServletException;
import javax.servlet.ServletRequest;
import javax.servlet.ServletResponse;
public class HelloWorldServlet extends GenericServlet
{
@Override
public void service(ServletRequest request, ServletResponse response)
throws ServletException, IOException
{
response.setContentType("text/html");
PrintWriter writer = response.getWriter();
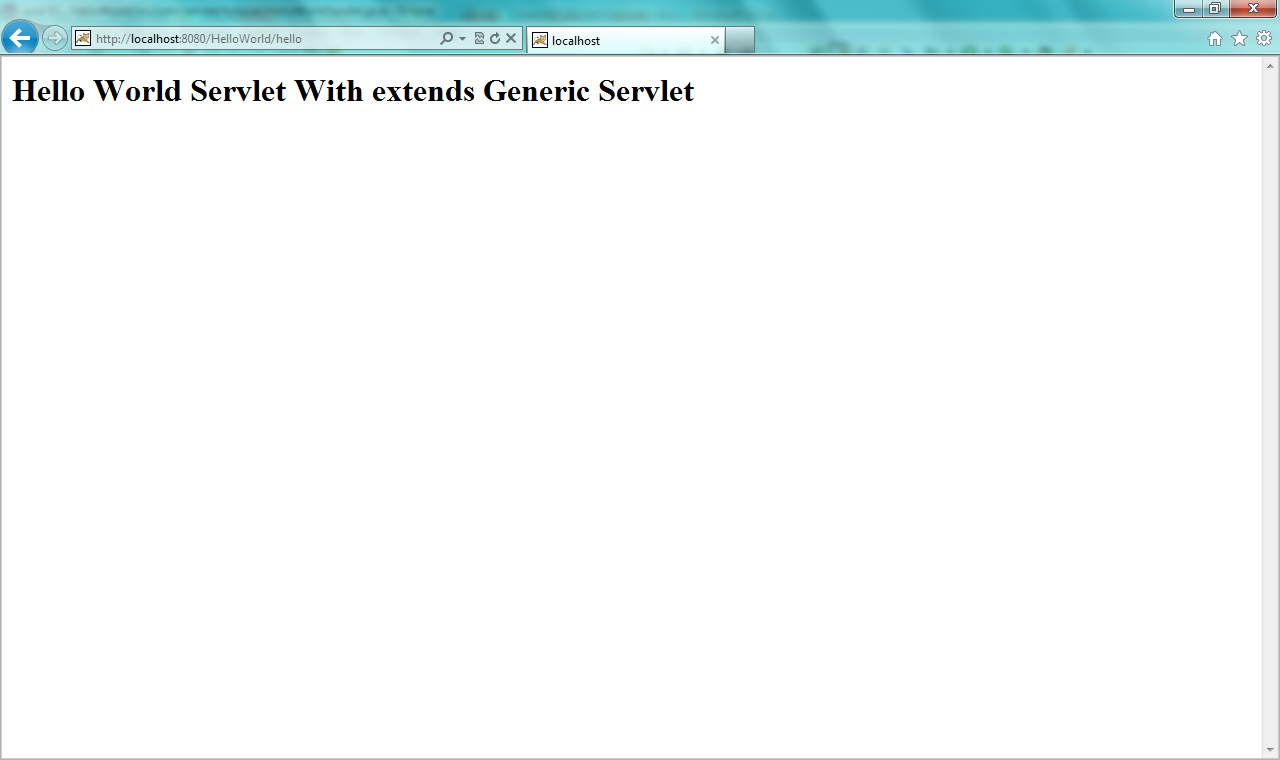
String helloWorldMessage="<html><body><H1>Hello World Servlet With extends Generic Servlet</H1></body></html>";
writer.println(helloWorldMessage);
}
}
Testing – Hit http://localhost:8080/HelloWorld/hello in browser. HelloWorld is the name of web application and /hello is the url configured for the servlet in web.xml
8.3.2 - Rewrite the servlet written in section 8.3.1 using HttpServlet approach.
Solution – web.xml will remain same and only change will be there in HellowWorldServlet class.
Following changes are needed.
- Extends HttpServlet
- Instead of service() method , need to override HttpServlet
package com.servlet.tutorial;
import java.io.IOException;
import java.io.PrintWriter;
import javax.servlet.ServletException;
import javax.servlet.http.HttpServlet;
import javax.servlet.http.HttpServletRequest;
import javax.servlet.http.HttpServletResponse;
public class HelloWorldServlet extends HttpServlet {
    @Override
    public void doGet(HttpServletRequest request, HttpServletResponse response)
    throws ServletException, IOException
    {
        response.setContentType("text/html");
        PrintWriter writer = response.getWriter();
        String helloWorldMessage="<html><body><H1>Hello World Servlet With extends Generic Servlet</H1></body></html>";
        writer.println(helloWorldMessage);
    }
}
With above two examples we understand how to write Servlet using both Generic and Http Servlet. Now we will use HttpServlet approach in all examples.
8.3.3 - Write a servlet that prints the init and context params configured in web.xml
Solution-
- Define a ReadInitParamServlet with one init-params and one context-params in web.xml .
- init-param name is MyInitParam and its value is Init Params are servlet specific
- context-param name is MyContextParam and its value is Context Parameters are servlet independent.
<context-param>
<param-name>MyContextParam</param-name>
<param-value>Context Parameters are servlet independent</param-value>
</context-param>
<servlet>
    <servlet-name>ReadInitParamsServlet</servlet-name>
    <servlet-class>com.servlet.tutorial.ReadInitParamsServlet</servlet-class>
<init-param>
    <param-name>MyInitParam</param-name>
    <param-value>Init Params are servlet specfic</param-value>
</init-param>
</servlet>
<servlet-mapping>
    <servlet-name>ReadInitParamsServlet</servlet-name>
    <url-pattern>/readInitParams</url-pattern>
</servlet-mapping>
- Write a ReadInitParamsServlet. To get init-params , need to obtain ServletConfig object using getServletConfig() method and for context parameters obtain ServletContext object using getServletContext() method .
These methods are already available as Servlet extends HttpServlet.
package com.servlet.tutorial;
import java.io.IOException;
import java.io.PrintWriter;
import javax.servlet.ServletException;
import javax.servlet.http.HttpServlet;
import javax.servlet.http.HttpServletRequest;
import javax.servlet.http.HttpServletResponse;
public class ReadInitParamsServlet extends HttpServlet {
@Override
public void doGet(HttpServletRequest request, HttpServletResponse response)
throws ServletException, IOException
{
String initParam=getServletConfig().getInitParameter("MyInitParam");
String contextParam= getServletContext().getInitParameter("MyContextParam");
response.setContentType("text/html");
PrintWriter writer = response.getWriter();
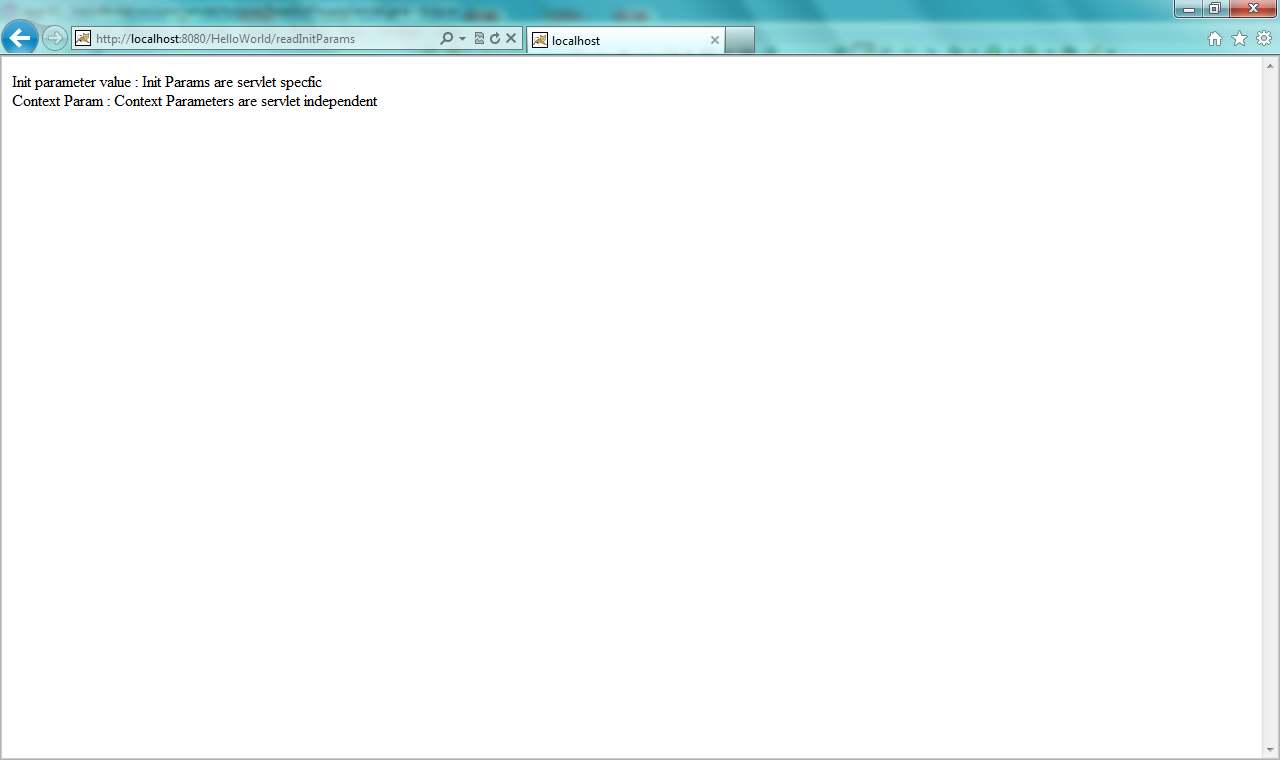
String message="Init parameter value : " + initParam + "<br/> Context Param : " + contextParam;
writer.println(message);
}
}
Test – Hit the url http://localhost:8080/HelloWorld/readInitParams
8.3.4 - Write a servlet that reads and prints the request parameters .
Solution
- Configure a new servlet ReadRequestParam in web.xml
<servlet>
    <servlet-name>ReadRequestParamServlet</servlet-name>
    <servlet-class>com.servlet.tutorial.ReadRequestParamServlet</servlet-class>
</servlet>
<servlet-mapping>
    <servlet-name>ReadRequestParamServlet</servlet-name>
    <url-pattern>/readRequestParam</url-pattern>
</servlet-mapping>
- Create Servlet. As discussed in Chapter 4, we need to use request.getParameter() method .
package com.servlet.tutorial;
import java.io.IOException;
import java.io.PrintWriter;
import javax.servlet.ServletException;
import javax.servlet.http.HttpServlet;
import javax.servlet.http.HttpServletRequest;
import javax.servlet.http.HttpServletResponse;
public class ReadRequestParamServlet extends HttpServlet {
    @Override
    public void doGet(HttpServletRequest request, HttpServletResponse response)
    throws ServletException, IOException
    {
        String requestParam = request.getParameter("myRequestParam");
        response.setContentType("text/html");
        PrintWriter writer = response.getWriter();
        String message="<html><body><H1>"+requestParam+"</H1></body></html>";
        writer.println(message);
    }
}
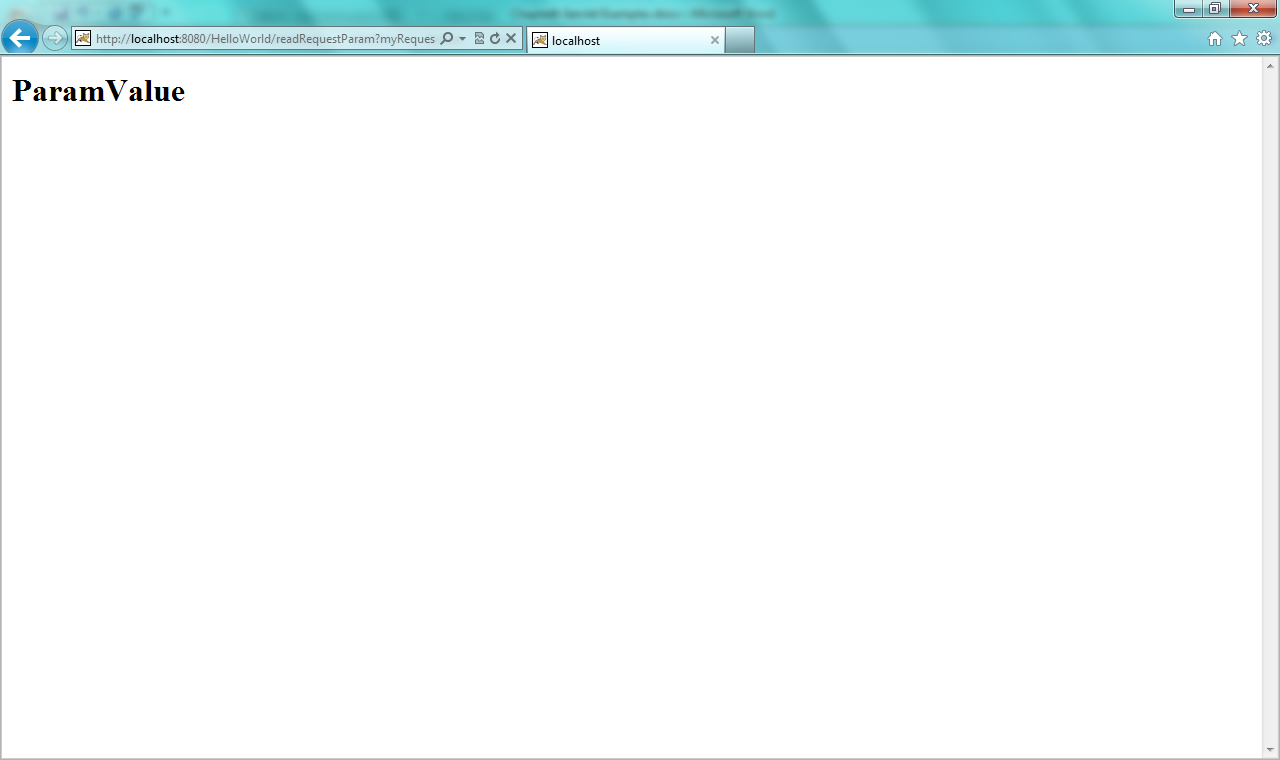
Testing – Hit the url http://localhost:8080/HelloWorld/readRequestParam?myRequestParam=ParamValue
This url is carrying one request parameter with name “myRequestParam” and its value is ParamValue .
8.3.5 - Write a servlet to demonstrate servlet life cycle
Solution – To demonstrate life cycle of a servlet , Servlet needs to override all the three lifecycle methods (init(), doXXX() and destroy()) method.Servlet url needs to be twice to see validate the lifecycle.
Below servlet will print the message on server console .In all above examples, messages are displayed on browser because, we are writing messages using PrintWriter object . However to display message on servlet console , just use System.out.println()
- Define a entry of servlet in web.xml
<servlet>
        <servlet-name>LifeCycleServlet</servlet-name>
        <servlet-class>com.servlet.tutorial.LifeCycleServlet</servlet-class>
    </servlet>
    <servlet-mapping>
        <servlet-name>LifeCycleServlet</servlet-name>
        <url-pattern>/lifeCycle</url-pattern>
    </servlet-mapping>
- Write LifeCycleServlet code
package com.servlet.tutorial;
import java.io.IOException;
import javax.servlet.ServletException;
import javax.servlet.http.HttpServlet;
import javax.servlet.http.HttpServletRequest;
import javax.servlet.http.HttpServletResponse;
public class LifeCycleServlet extends HttpServlet {
@Override
public void init() throws ServletException {
System.out.println("init() Method. I am executed once at servlet initialization");
}
@Override
public void doGet(HttpServletRequest request, HttpServletResponse response)
    throws ServletException, IOException
{
System.out.println("doGet() method. I am executed for every request coming to this servlet");
}
@Override
public void destroy() {
System.out.println("destroy() method. I am executed when web applicaion is un-deployed or container is stopped");
}
}
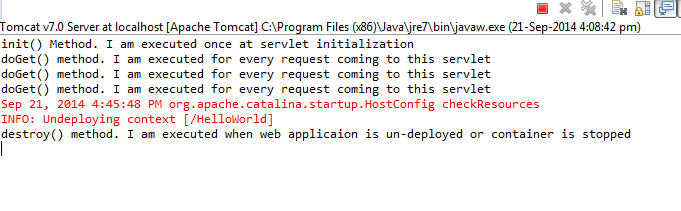
Testing – To test the above servlet hit the http://localhost:8080/HelloWorld/lifeCycle three times. As you can see on below figure (server console) ,
- init method is executed once
- doGet() method is executed thrice
- un-deploy the Hello World web application from tomcat (simply delete the HelloWorld.war file from webapps directory) . At the time of un-deploying the web application, destroy() method gets executed.
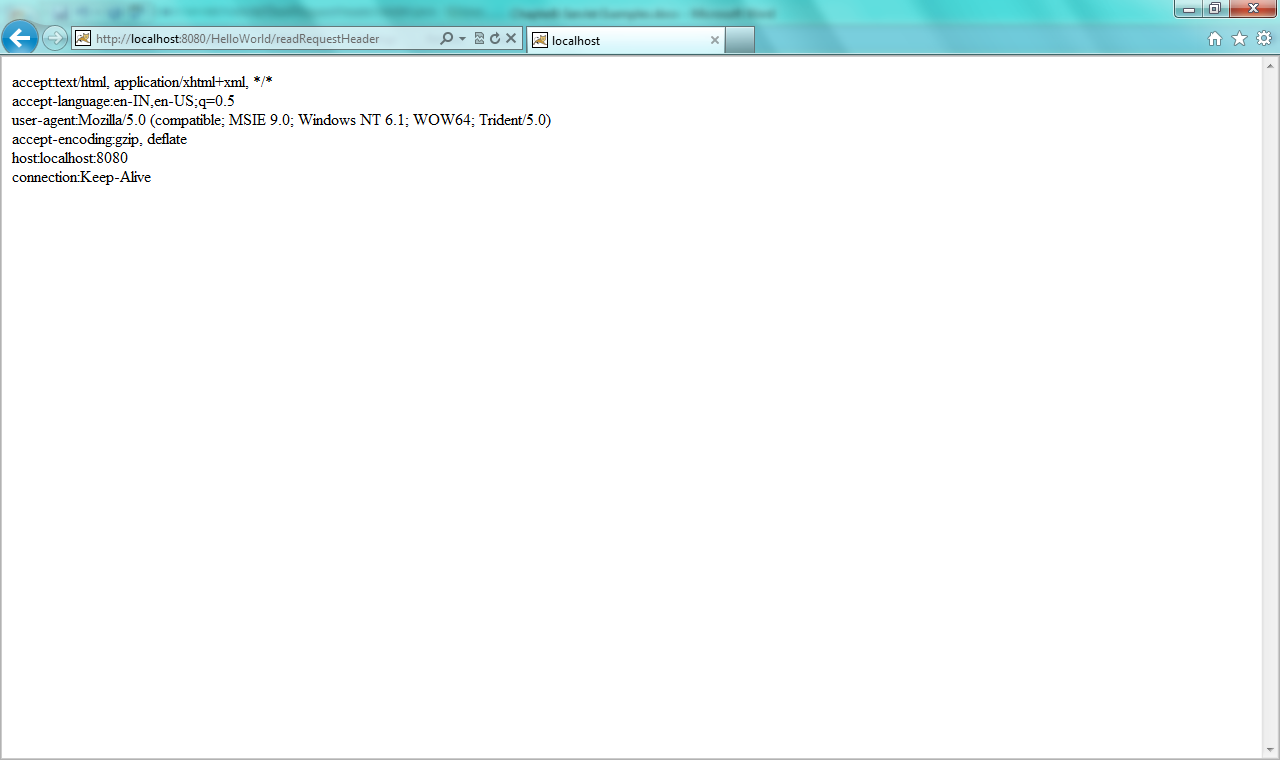
8.3.6 - Write a servlet that prints all headers name and values.
Solution – There are some important points to note in this example. We need to display all the header parameters values and we don’t know the header name whose value to print. To achieve this servlet needs to get all the available header names , iterate it and get the value of each header.
HttpServletRequest provides a method which returns a header value of a given header name and a method that returns the Enumeration of all headers.
Approach – get all the header names using request.getHeaderNames() and then run a loop , get a header name and get its value using request.getHeader(String)
- Define a servlet in web.xml
<servlet>
        <servlet-name>ReadHeaderServlet</servlet-name>
<servlet-class>
com.servlet.tutorial.ReadHeaderServlet
</servlet-class>
    </servlet>
    <servlet-mapping>
        <servlet-name>ReadHeaderServlet</servlet-name>
        <url-pattern>/displayHeader</url-pattern>
    </servlet-mapping>
- Write the code of ReadHeaderServlet
package com.servlet.tutorial;
import java.io.IOException;
import java.io.PrintWriter;
import java.util.Enumeration;
import javax.servlet.ServletException;
import javax.servlet.http.HttpServlet;
import javax.servlet.http.HttpServletRequest;
import javax.servlet.http.HttpServletResponse;
public class ReadHeaderServlet extends HttpServlet {
    @Override
    public void doGet(HttpServletRequest request, HttpServletResponse response)
    throws ServletException, IOException
    {
        Enumeration<String> headerEnumeration= request.getHeaderNames();
        StringBuffer buffer = new StringBuffer();
        while(headerEnumeration.hasMoreElements())
        {
            String headerName= headerEnumeration.nextElement();
            String headerValue =request.getHeader(headerName);
            buffer.append(headerName + ":" + headerValue);
            buffer.append("<br/>");
        }
        response.setContentType("text/html");
        PrintWriter writer = response.getWriter();
        writer.println(buffer.toString());
    }
}
Testing
Hit the http://localhost:8080/HelloWorld/displayHeader in browser We can see the header like host , browser name etc.
8.4 Conclusion
In this chapter, we have implemented the concepts we have learned so far. In coming chapters we will discuss the examples of form submission, examples with multiple servlets.