
MIDlets are applications created using the MIDP specification and are designed to be executed on devices with limited resources.
Application Management System (AMS)
This is the software that is responsible for managing MIDlets, this software resides on the device and is responsible for executing, pausing or destroying our applications.
The AMS performs two major functions:
- Manages the lifecycle of the MIDlets
- It controls the different states for the MIDlets while they are being executed.
MIDlet lifecycle
The AMS handles the MIDlets phases:
- Discovery: this phase is a stage before the actual installation of the MIDlet. In this phase, we select through the AMS which application we want to download.
- Installation: in this phase once the MIDlet is downloaded the AMS starts the installation and provides the user with information about the progress of the MIDlet installation including any error message.
- Execution: in this phase the AMS is in charge of managing the states of the MIDlet.
- Update: in this phase the AMS is capable to detect and inform if there is an update available for an already installed MIDlet. Once it detects an update, it should inform the user whether to update the application or not.
- Deleted: in this phase the AMS is in charge of deleting the MIDlet from the device. It will ask for confirmation from the user before deleting the MIDlet.
There are 3 states in the lifecycle of a MIDlet
- Active
- Paused
- Destroyed
When the application is loaded, it starts in a Paused state, when the application starts its execution it is transitioned to Active state. When exiting the application, it will transition to a Destroyed state. In this state, all resources are de-allocated.

Let’s create our first MIDlet
First, make sure that we are in the Java ME perspective within our Eclipse instance.
Go to Windows, Open Perspective, Other

Select Java ME and click OK.

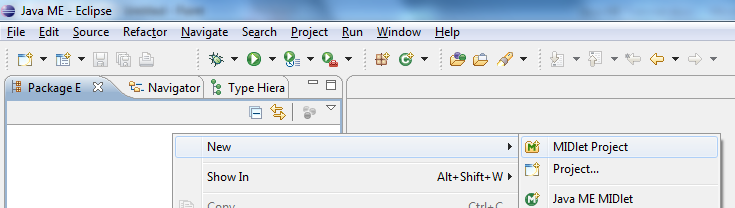
Now, in this new perspective we can right click on the project explorer and create a new MIDlet project
Select a name for our MIDlet project (i.e: HelloWorld), select the configuration we want to aim our MIDlet, in our case we will use the JavaMEPhone1. Click Next.

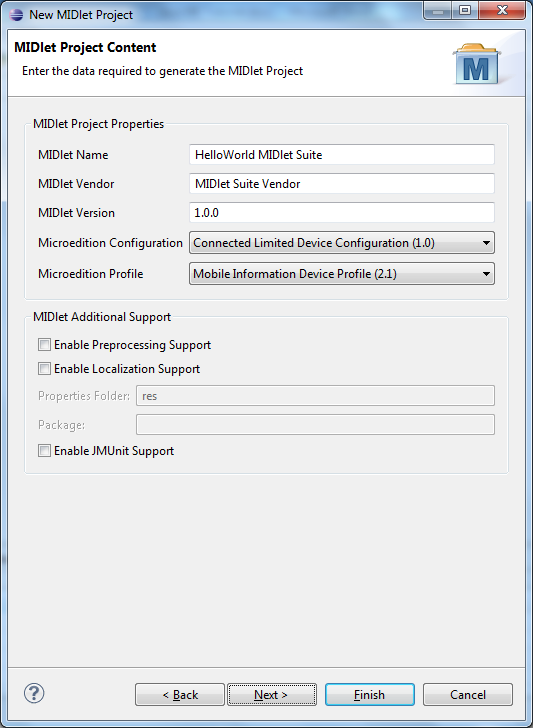
In the following screen you can enter different values for the project, like the suite (a group of MIDlets within a single project), the name of the vendor of the MIDlet (for instance the name of your company), and the version of the MIDlet. You could also set the configuration and profiles that your MIDlet will run on. Click Next.
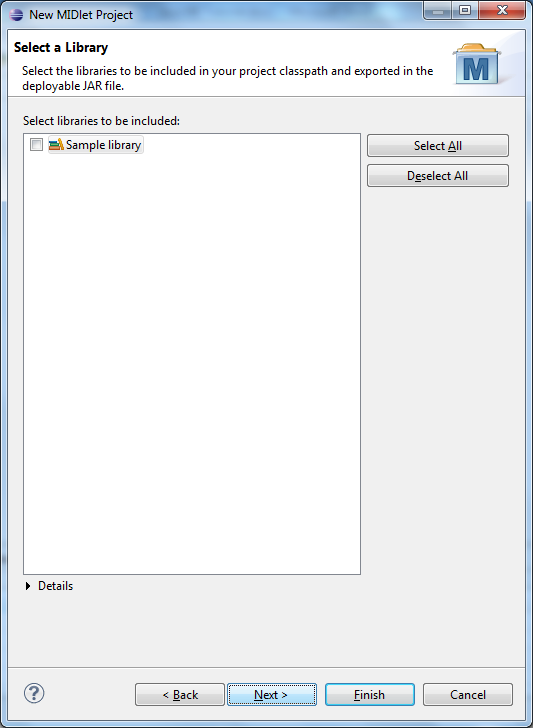
In the following screen you could include additional libraries, in our example we won’t include any additional library. Click Next
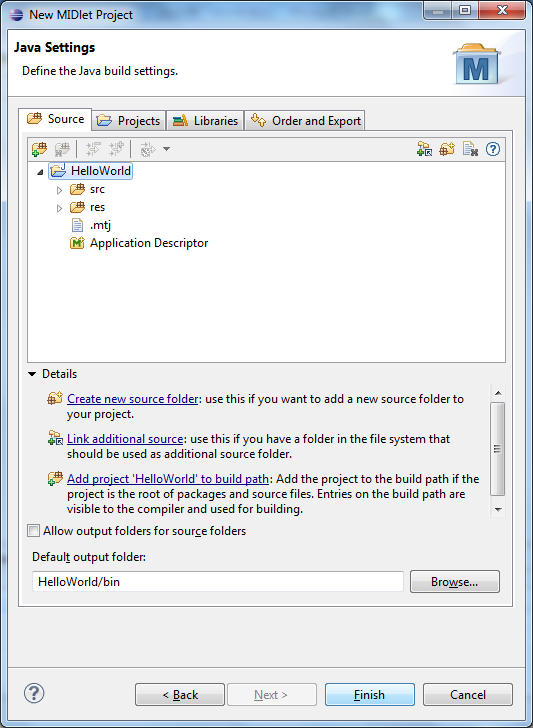
In the following screen you can define the folder for the source code, libraries. For our example we won’t make any change here. Click Finish
Once this operation is completed, we now have a new MIDlet project structure as follow:

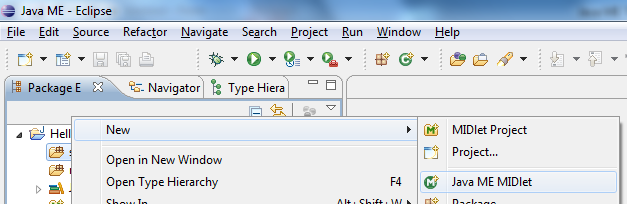
So far we have our MIDlet project, but we don’t have any MIDlet created. So let’s right click on the src folder and click on New, create a Java ME MIDlet
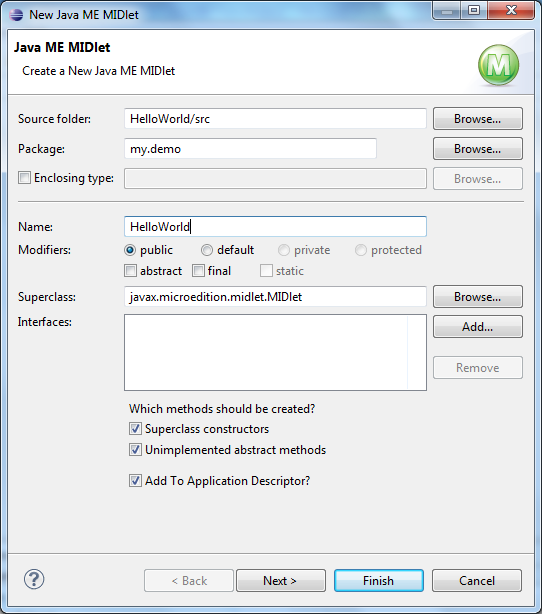
In the screen displayed select the Name of the actual midlet (i.e:HelloWorld), set the source folder and the package and click Finish
Once this is complete, you will have an empty MIDlet with the required methods to implement:
- The public HelloWorld() constructor.
- Three protected methods: destroyApp(), startApp() and pauseApp().
Let’s modify the HelloWorld.java file:
We will go into details for the Display, Form classes later in the tutorial. But for our first MIDlet, we can say that every MIDlet has to have a Display.
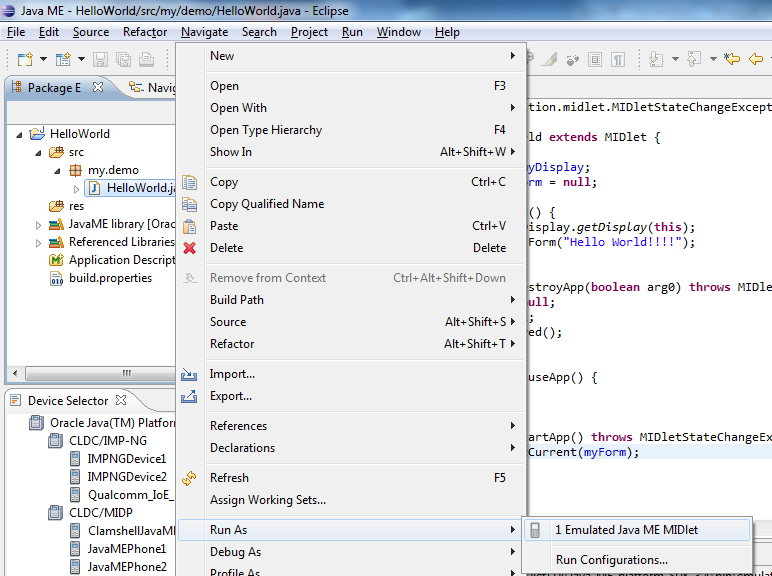
Once we have this file changed, let’s run the MIDlet. We will do this by doing a right click on the HelloWorld.java file, and Run As, Emulated Java ME MIDlet.
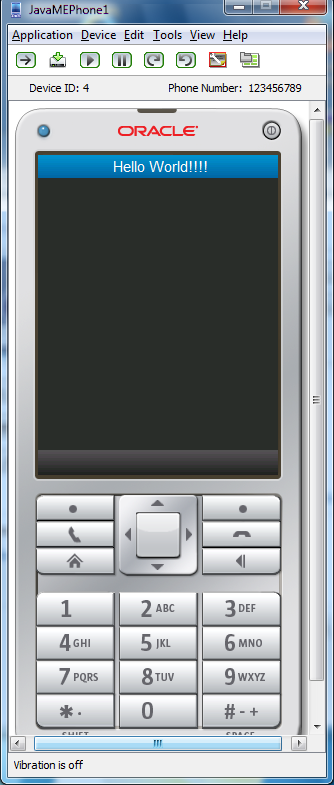
Once the MIDlet is executed a new window should be opened with an emulated phone, and running our MIDlet.