
6.2.1 Introduction to Android file system
When we have lot of data which require sequential storage, then Android File object works as magic. Android devices have two file storage areas and they are:
- Internal Storage
- External Storage

Figure - Android file storage system
Internal storage generally indicates the non-volatile memory and external storage indicates the removable storage medium such as SD card. Nowadays many devices partition the permanent storage into internal and external storage medium. API doesn’t differentiate between non-removable external storage and removable external storage medium. Let us see a difference table which is as follows:
Serial Number | Property | Internal Storage | External Storage |
1 | Availability | It is readily and always available | It is not always available for use. Users can mount external storage as USB storage. They can be easily removed from device. |
2 | Removal | After un-installation of app system removes all the app related files. | If getExternalFilesDir() is used then only system removes all the related files after un-installation of app. |
3 | Accessibility | By default only app can access the saved files | Files may be read if it’s world-readable which can be out-of user control |
4 | Sharing | It is appropriate for apps which don’t want user interference or any intervention of other apps | It is appropriate place for sharing files with other apps. It Is best when apps don’t require access restriction. |
5 | Usage | By default apps are installed in internal storage | When apk size is very large this is the best option. |
Table - Difference between Android external storage and internal storage
Forsaving a file on internal storage any one of the two methods should be implemented:
- getFilesDir(): A file is returned which would be the internal directory of app
- getCacheDir(): This will return a File which will represent the internal directory of app. App’s temporary cache files are its main contents. Cache files may be deleted if system runs out of resources. We should always delete the cache files manually. Proper amount of memory should be allocated so that memory bandwidth is not wasted.
To read or write external storage permissions are to be set in the app manifest file. They are as follows:
<manifest….>
    <uses-permission android:name=”android.permission.READ_EXTERNAL_STORAGE”
    …..
    <uses-permission android:name=”android.permission.WRITE_EXTERNAL_STORAGE”>
    ……
</manifest>
Figure Read/write permission in manifest for external storage
External storage mainly deals with two types of files:
- Public files: These files are easily available to users and other apps. After un-installation, these files are available to user.
- Private Files: These files are private to app. They should get uninstalled when app is removed from system. These files are actually valuable to particular app only. Thus even if they are available to other users or apps on external storage they are meant to be of no use for them. So system removes the private files directory of app while uninstalling the app.
All files should be deleted when they are no longer in use.
6.2.2 Android Internal Storage Example
Let us try out an example and find the practical implementation. Open the IDE and create a project. Name it as you like. I am naming it as FileInternalStorageEx app. Open the xml file and code it as shown in the following listing:
<RelativeLayoutxmlns:android="http://schemas.android.com/apk/res/android"
xmlns:tools="http://schemas.android.com/tools"
android:layout_width="match_parent"
android:layout_height="match_parent"
android:paddingBottom="@dimen/activity_vertical_margin"
android:paddingLeft="@dimen/activity_horizontal_margin"
android:paddingRight="@dimen/activity_horizontal_margin"
android:paddingTop="@dimen/activity_vertical_margin"
tools:context=".MainActivity">
<TextView
android:id="@+id/textView1"
android:layout_width="wrap_content"
android:layout_height="wrap_content"
android:layout_alignParentTop="true"
android:layout_centerHorizontal="true"
android:layout_marginTop="19dp"
android:text="Hello Readers!!"/>
<EditText
android:id="@+id/editTextOutput"
android:layout_width="wrap_content"
android:layout_height="wrap_content"
android:layout_alignLeft="@+id/editText1"
android:layout_centerVertical="true"
android:ems="10"/>
<Button
android:id="@+id/buttonSave"
style="?android:attr/buttonStyleSmall"
android:layout_width="wrap_content"
android:layout_height="wrap_content"
android:layout_alignLeft="@+id/editTextOutput"
android:layout_below="@+id/editTextOutput"
android:layout_marginLeft="16dp"
android:layout_marginTop="42dp"
android:text="Save"/>
<EditText
android:id="@+id/editTextInput"
android:layout_width="wrap_content"
android:layout_height="wrap_content"
android:layout_above="@+id/editTextOutput"
android:layout_alignRight="@+id/textView1"
android:layout_marginBottom="43dp"
android:ems="10"/>
<Button
android:id="@+id/buttonLoad"
style="?android:attr/buttonStyleSmall"
android:layout_width="wrap_content"
android:layout_height="wrap_content"
android:layout_alignBaseline="@+id/buttonSave"
android:layout_alignBottom="@+id/buttonSave"
android:layout_alignRight="@+id/editTextOutput"
android:text="Show"/>
</RelativeLayout>
Figure- activity_main.xml of Android Internal Storage Example
Graphical layout should be similar to the following snapshot:
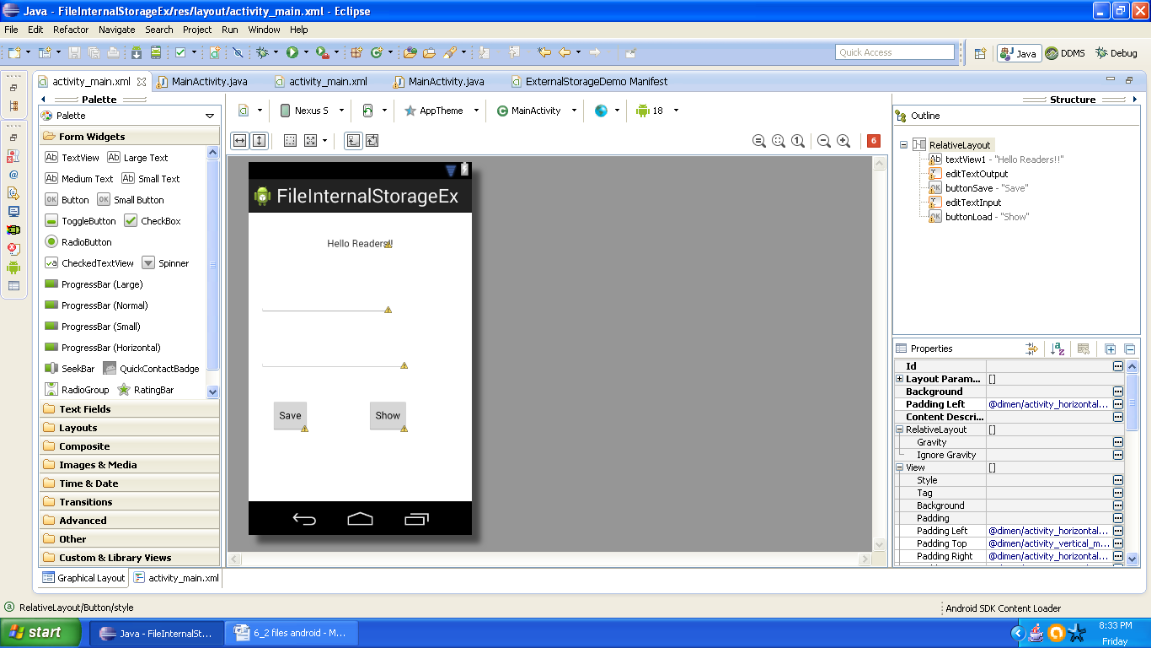
Figure- Graphical layout of Android Internal Storage Example
Now open your mainactivity.java file and code it as shown in the following listing:
packagecom.android.tution.Internal;
importjava.io.FileInputStream;
importjava.io.FileNotFoundException;
importjava.io.FileOutputStream;
importjava.io.IOException;
importjava.io.InputStreamReader;
importjava.io.OutputStreamWriter;
importandroid.app.Activity;
importandroid.os.Bundle;
importandroid.view.Menu;
importandroid.view.View;
importandroid.widget.Button;
importandroid.widget.EditText;
importandroid.widget.Toast;
publicclassMainActivityextends Activity {
    EditTextinput, output;
    Button save, show;
    privatestaticfinalintREAD_BLOCK_SIZE = 100;
    @Override
    protectedvoidonCreate(Bundle savedInstanceState) {
        super.onCreate(savedInstanceState);
        setContentView(R.layout.activity_main);
        input = (EditText) findViewById(R.id.editTextInput);
        output = (EditText) findViewById(R.id.editTextOutput);
        save = (Button) findViewById(R.id.buttonSave);
        show = (Button) findViewById(R.id.buttonLoad);
        save.setOnClickListener(newView.OnClickListener() {
            @SuppressWarnings("deprecation")
            @Override
            publicvoidonClick(View v) {
                // TODO Auto-generated method stub
                Stringstring = input.getText().toString();
                try {
                    FileOutputStreamfileout = openFileOutput("mytext.txt",
                            MODE_WORLD_READABLE);
                    OutputStreamWriterowriter = newOutputStreamWriter(fileout);
                    owriter.write(string);
                    owriter.flush();
                    owriter.close();
                    Toast.makeText(getApplicationContext(),
                            "Hey you saved the data!!",Toast.LENGTH_SHORT)
                            .show();
                    input.setText("");
                } catch (IOException e) {
                    e.printStackTrace();
                }
            }
        });
Figure - First half of code of Android Internal Storage Example
Second half of code is as shown in the following listing:
show.setOnClickListener(newView.OnClickListener() {
            @Override
            publicvoidonClick(View v) {
                // TODO Auto-generated method stub
                try {
                    FileInputStreamfinput = openFileInput("mytext.txt");
                    InputStreamReaderfreader = newInputStreamReader(finput);
                    char[] input = newchar[READ_BLOCK_SIZE];
                    String str=" ";
                    intreadChar;
                    while((readChar=freader.read(input))>0)
                    {
                        String readS=String.copyValueOf(input,0,readChar);
                    str +=readS;
                    input=newchar[READ_BLOCK_SIZE];
                    }
                    output.setText(str);
                    Toast.makeText(getApplicationContext(), "File is loaded successfully", Toast.LENGTH_SHORT).show();
                } catch (FileNotFoundExceptionef) {
                    // TODO Auto-generated catch block
                    ef.printStackTrace();
                } catch (IOExceptionie) {
                    // TODO Auto-generated catch block
                    ie.printStackTrace();
                }
            }
        });
    }
    @Override
    publicbooleanonCreateOptionsMenu(Menu menu) {
        // Inflate the menu; this adds items to the action bar if it is present.
        getMenuInflater().inflate(R.menu.main, menu);
        returntrue;
    }
}
Figure - Second half of code of Android Internal Storage Example
Open your manifest file and cross check it with following listing:
<?xmlversion="1.0"encoding="utf-8"?>
<manifestxmlns:android="http://schemas.android.com/apk/res/android"
package="com.android.tution.Internal"
android:versionCode="1"
android:versionName="1.0">
<uses-sdk
android:minSdkVersion="8"
android:targetSdkVersion="18"/>
<application
android:allowBackup="true"
android:icon="@drawable/ic_launcher"
android:label="@string/app_name"
android:theme="@style/AppTheme">
<activity
android:name="com.android.tution.Internal.MainActivity"
android:label="@string/app_name">
<intent-filter>
<actionandroid:name="android.intent.action.MAIN"/>
<categoryandroid:name="android.intent.category.LAUNCHER"/>
</intent-filter>
</activity>
</application>
</manifest>
Figure - manifest file of code of Android Internal Storage Example
So now we are done with coding part. Create a suitable emulator and run your application. At first run output should be similar to the following snapshot:
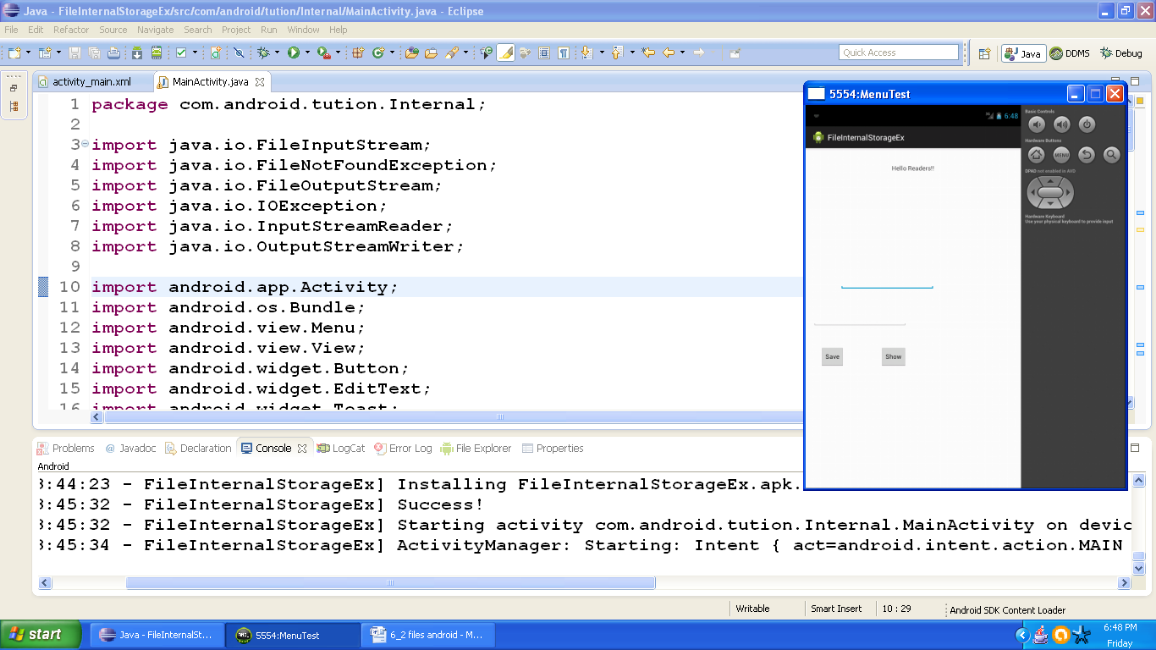
Figure- After first run
Now insert the input data and output should be similar to the following snapshot:

Figure - Output after giving first input
Now click the button saying save and the input given by you would disappear from the edit box. You would be prompted about the storage of your data. Output should be similar to the following snapshot:
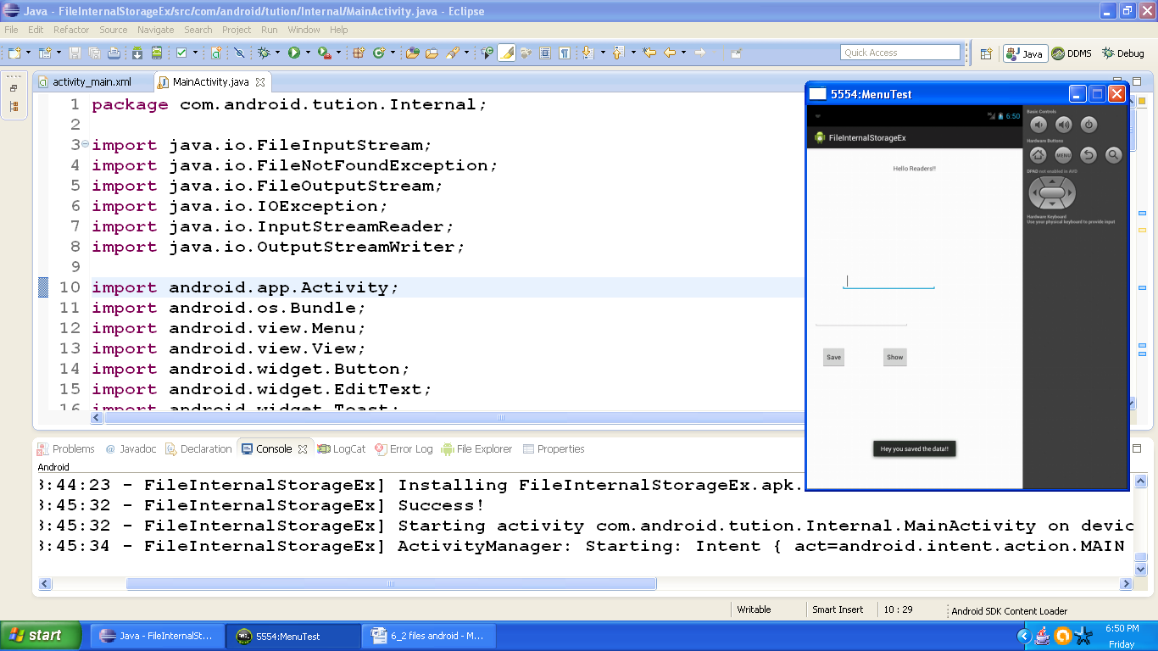
Figure - Output after pressing the save button
Now click the button saying show and whatever you have entered in first box would be displayed in the second box. You shall be notified about the event with a message. So output should be similar to the following snapshot:

Figure - Output after pressing the show button
Let us create an example of external storage. We shall use the SD Card for this purpose.
6.6.3 Android External Storage Example
Let us create another project and name it as you like. I am naming it ExternalStorageDemo app. Open the xml file and code it as shown in the following listing:
<RelativeLayoutxmlns:android="http://schemas.android.com/apk/res/android"
xmlns:tools="http://schemas.android.com/tools"
android:layout_width="match_parent"
android:layout_height="match_parent"
android:paddingBottom="@dimen/activity_vertical_margin"
android:paddingLeft="@dimen/activity_horizontal_margin"
android:paddingRight="@dimen/activity_horizontal_margin"
android:paddingTop="@dimen/activity_vertical_margin"
tools:context=".MainActivity">
<TextView
android:id="@+id/textView1"
android:layout_width="wrap_content"
android:layout_height="wrap_content"
android:text="Readers!! External Storage"/>
<EditText
android:id="@+id/editText1"
android:layout_width="wrap_content"
android:layout_height="wrap_content"
android:layout_alignParentLeft="true"
android:layout_below="@+id/textView1"
android:layout_marginTop="36dp"
android:ems="10">
<requestFocus/>
</EditText>
<EditText
android:id="@+id/editText2"
android:layout_width="wrap_content"
android:layout_height="wrap_content"
android:layout_alignParentLeft="true"
android:layout_below="@+id/editText1"
android:layout_marginTop="35dp"
android:ems="10"/>
<Button
android:id="@+id/buttonS"
style="?android:attr/buttonStyleSmall"
android:layout_width="wrap_content"
android:layout_height="wrap_content"
android:layout_alignParentLeft="true"
android:layout_below="@+id/editText2"
android:layout_marginTop="46dp"
android:text="Save"/>
<Button
android:id="@+id/buttonL"
style="?android:attr/buttonStyleSmall"
android:layout_width="wrap_content"
android:layout_height="wrap_content"
android:layout_alignBaseline="@+id/buttonS"
android:layout_alignBottom="@+id/buttonS"
android:layout_centerHorizontal="true"
android:text="Load"/>
</RelativeLayout>
Figure activity_main.xml file of Android External Storage Example
Graphical layout should be similar to the following snapshot:
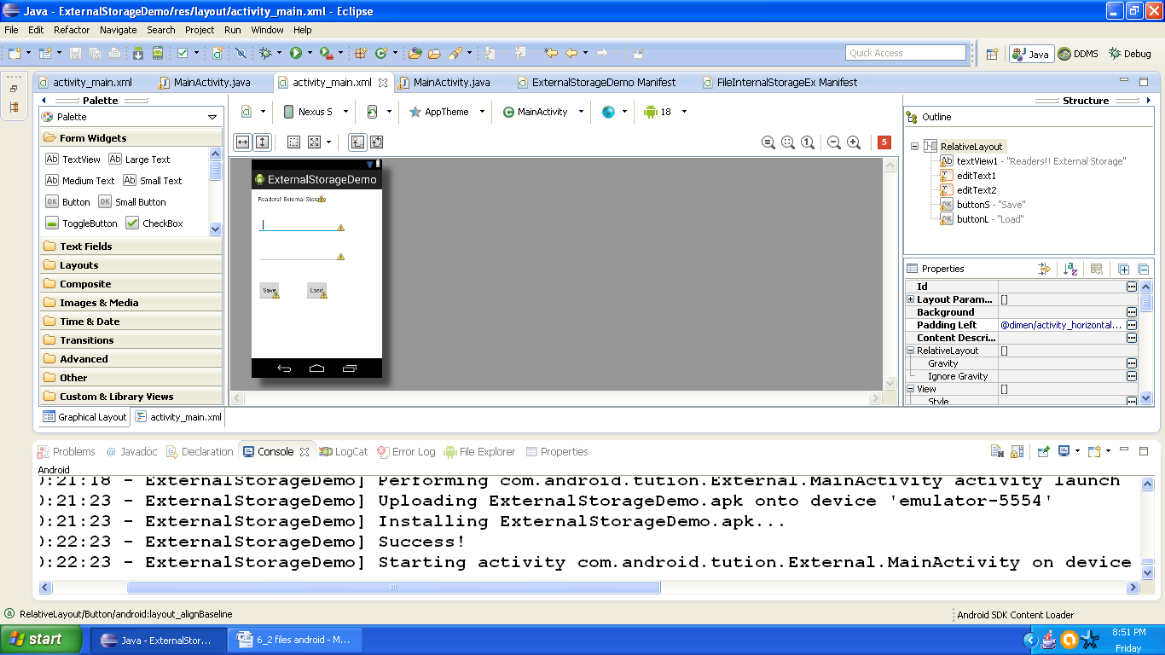
Figure Graphical layout of Android External Storage Example
Open the activity file and code it as shown in the following listing:
packagecom.android.tution.External;
importjava.io.File;
importjava.io.FileInputStream;
importjava.io.FileNotFoundException;
importjava.io.FileOutputStream;
importjava.io.IOException;
importjava.io.InputStreamReader;
importjava.io.OutputStreamWriter;
importandroid.app.Activity;
importandroid.os.Bundle;
importandroid.os.Environment;
importandroid.view.Menu;
importandroid.view.View;
importandroid.widget.Button;
importandroid.widget.EditText;
importandroid.widget.Toast;
publicclassMainActivityextends Activity {
    privatestaticfinalintREAD_BLOCK_SIZE = 200;
    @Override
    protectedvoidonCreate(Bundle savedInstanceState) {
        super.onCreate(savedInstanceState);
        setContentView(R.layout.activity_main);
        finalEditText input = (EditText) findViewById(R.id.editText1);
        finalEditText output = (EditText) findViewById(R.id.editText2);
        Button save = (Button) findViewById(R.id.buttonS);
        Button load = (Button) findViewById(R.id.buttonL);
        save.setOnClickListener(newView.OnClickListener() {
            @Override
            publicvoidonClick(View v) {
                // TODO Auto-generated method stub
                String string = input.getText().toString();
                try {
                    File sdCard = Environment.getExternalStorageDirectory();
                    File dir = newFile(sdCard.getAbsolutePath() + "/Myfiles");
                    dir.mkdirs();
                    File file = newFile(dir, "mytext.txt");
                    FileOutputStreamfileout = newFileOutputStream(file);
                    OutputStreamWriterowriter = newOutputStreamWriter(fileout);
                    owriter.write(string);
                    owriter.flush();
                    owriter.close();
                    Toast.makeText(getApplicationContext(),
                            "Hey you saved the data!!",Toast.LENGTH_SHORT)
                            .show();
                    input.setText("");
                } catch (IOException e) {
                    e.printStackTrace();
                }
            }
        });
Figure First half of code for Android External Storage Example
Second half of code is as shown in the following listing:
load.setOnClickListener(newView.OnClickListener() {
            @Override
            publicvoidonClick(View v) {
                // TODO Auto-generated method stub
                try {
                    File sdCard = Environment.getExternalStorageDirectory();
                    File dir = newFile(sdCard.getAbsolutePath() + "/Myfiles");
                    File file = newFile(dir, "mytext.txt");
                    FileInputStreamfinput = newFileInputStream(file);
                    InputStreamReaderfreader = newInputStreamReader(finput);
                    char[] input = newchar[READ_BLOCK_SIZE];
                    String str = " ";
                    intreadChar;
                    while ((readChar = freader.read(input)) > 0) {
                        String readS = String.copyValueOf(input, 0, readChar);
                        str += readS;
                        input = newchar[READ_BLOCK_SIZE];
                    }
                    output.setText(str);
                    Toast.makeText(getApplicationContext(),
                            "File is loaded successfully", Toast.LENGTH_SHORT)
                            .show();
                } catch (FileNotFoundExceptionef) {
                    // TODO Auto-generated catch block
                    ef.printStackTrace();
                } catch (IOExceptionie) {
                    // TODO Auto-generated catch block
                    ie.printStackTrace();
                }
            }
        });
    }
    @Override
    publicbooleanonCreateOptionsMenu(Menu menu) {
        // Inflate the menu; this adds items to the action bar if it is present.
        getMenuInflater().inflate(R.menu.main, menu);
        returntrue;
    }
}
Figure Second half of code for Android External Storage Example
Open your manifest file and code it as shown in the following listing:
<?xmlversion="1.0"encoding="utf-8"?>
<manifestxmlns:android="http://schemas.android.com/apk/res/android"
package="com.android.tution.External"
android:versionCode="1"
android:versionName="1.0">
<uses-sdk
android:minSdkVersion="8"
android:targetSdkVersion="18"/>
<uses-permissionandroid:name="android.permission.READ_EXTERNAL_STORAGE"/>
<uses-permissionandroid:name="android.permission.WRITE_EXTERNAL_STORAGE"/>
<application
android:allowBackup="true"
android:icon="@drawable/ic_launcher"
android:label="@string/app_name"
android:theme="@style/AppTheme">
<activity
android:name="com.android.tution.External.MainActivity"
android:label="@string/app_name">
<intent-filter>
<actionandroid:name="android.intent.action.MAIN"/>
<categoryandroid:name="android.intent.category.LAUNCHER"/>
</intent-filter>
</activity>
</application>
</manifest>
Figure manifest file of Android External Storage Example
Everything is set. Create a suitable emulator and run your application. After first run output should be similar to the following snapshot:

Figure - Output after first run of app
Now provide a suitable input in the edit box and output should be similar to the following snapshot:
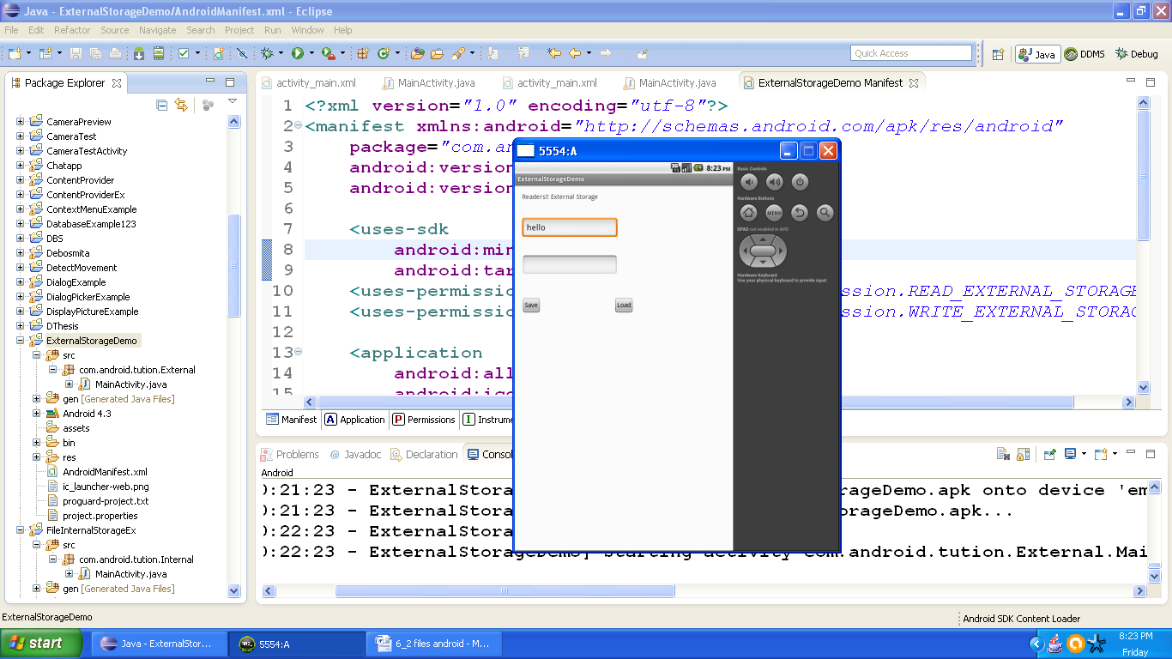
Figure - Output after entering first input
Now press the save button and the input box would be empty. A toast about your file storage would be displayed. Output should be similar to the following snapshot:

Figure - Output after pressing save button
Now press the Load button and whatever input provided by you is displayed in the second box. Again a message would be displayed about this event. So output should be similar to the following snapshot
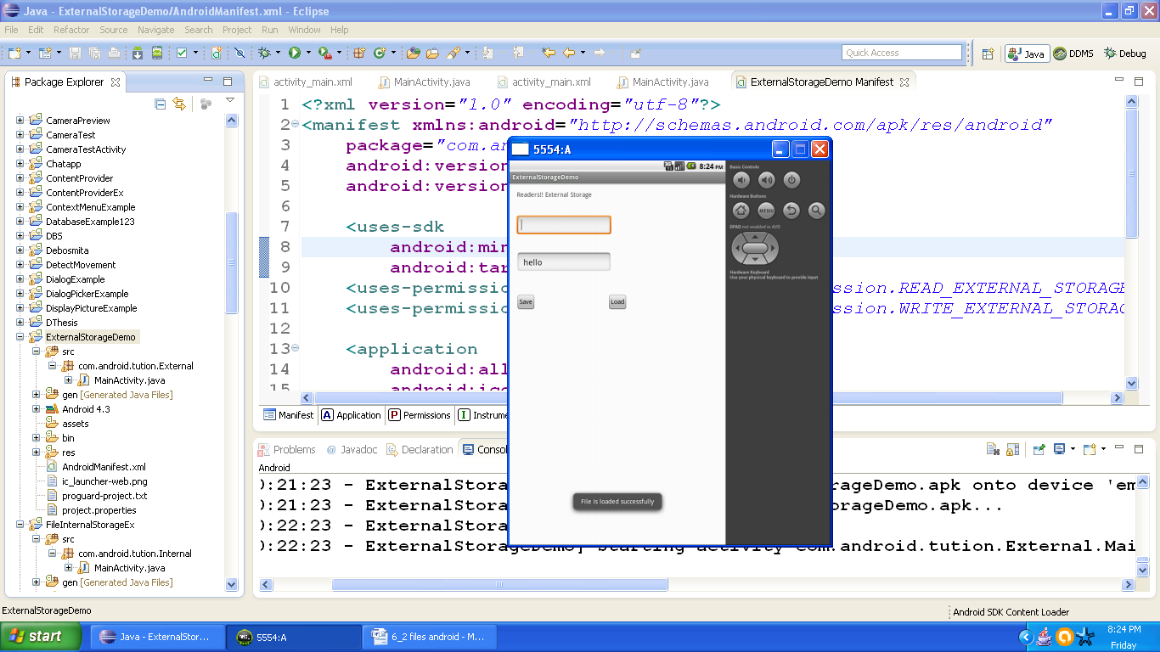
Figure - Output after pressing load button
So friends we are done. Congratulations on your success!! Till then keep practicing. See you in the next section. Happy App Developing!!!