
Hello ReadersJ!!! Hope you are doing well. Today we are going to learn about geo-coding. With geo-coding we can translate between street address and latitude/longitude and vice versa. Let us not waste time and study some real interesting topics.
10.3.1 Introduction
Location services of android automatically maintain the current location of user. Our app needs to retrieve this location when required. The accuracy of location depends upon the permissions we have requested and the corresponding location sensors which are active on the device.
Geocoder is a class which handles geo coding and reverse- geo coding. We have two functions which return a list of Address objects. This list contains variety of possible results. It can be delineated up to a limit we specify while making the call. In other words we have two functionalities of this particular notion and they are:
- Forward geocoding/geocoding: It finds the latitude and longitude of that location
- Reverse geocoding: For a given location we have to find latitude and longitude.
The Geocoder class requires a backend service that is not included in the core android framework. In this section we shall cover the forward geo-coding which we call geo coding in simple words.
10.3.2 Forward Geo coding
In this process it determines the map coordinates for a specific location. We have to call getFromLocationName on a Geocoder object to geocode an address. The accuracy, availability, and granularity of geocoding results completely depend on the available database for the area we search.
We have to pass in a string which describes the address you want the coordinates for, the maximum number of results which are to be returned, and optionally it can provide a geographic bounding box for restricting the search results, for instance:
List<Address> result = gcObject.getFromLocationName(streetAddress, maximumResults);
10.3.3 Example
Create a project and name it as you like. I am naming it GeoCodingExample app. This is an advanced example as we will use maps. So you can study just as a demonstration. We will cover maps very soon. For demonstration purpose we have quoted this example. You can code this as it is and run the application on your system. In this project we will retrieve the location in terms of latitude and longitude. After one or two seconds, street address of these coordinates will be displayed on screen of your emulator. Open the activity_main.xml file and code it as shown in the following snapshot:
<RelativeLayout xmlns:android="http://schemas.android.com/apk/res/android"
    xmlns:tools="http://schemas.android.com/tools"
    android:layout_width="fill_parent"
    android:layout_height="fill_parent"
    android:paddingBottom="@dimen/activity_vertical_margin"
    android:paddingLeft="@dimen/activity_horizontal_margin"
    android:paddingRight="@dimen/activity_horizontal_margin"
    android:paddingTop="@dimen/activity_vertical_margin"
    tools:context=".MainActivity" >
    <com.google.android.maps.MapView
        android:id="@+id/mapView"
        android:layout_width="fill_parent"
        android:layout_height="fill_parent"
        android:apiKey="<your key>"
        android:clickable="true"
        android:enabled="true" >
    </com.google.android.maps.MapView>
</RelativeLayout>
Figure activity_main.xml file
We will learn how to retrieve this key in the following sections. Now the graphical layout should look similar to the following snapshot:

Figure Graphical layout
Now open the main activity file and code it as shown in the following listing:
package com.android.tution.GeoCodingExample;
import java.io.IOException;
import java.util.List;
import java.util.Locale;
import android.graphics.Bitmap;
import android.graphics.BitmapFactory;
import android.graphics.Canvas;
import android.graphics.Point;
import android.location.Address;
import android.location.Geocoder;
import android.os.Bundle;
import android.view.KeyEvent;
import android.view.Menu;
import android.view.MotionEvent;
import android.widget.Toast;
import com.google.android.maps.GeoPoint;
import com.google.android.maps.MapActivity;
import com.google.android.maps.MapController;
import com.google.android.maps.MapView;
import com.google.android.maps.Overlay;
public class MainActivity extends MapActivity {
    MapView mapView;
    MapController mc;
    GeoPoint gp;
    class MapOverlay extends com.google.android.maps.Overlay {
        @Override
        public boolean draw(Canvas arg0, MapView arg1, boolean arg2, long arg3) {
            // TODO Auto-generated method stub
            super.draw(arg0, mapView, arg2);
            Point screenPts = new Point();
            mapView.getProjection().toPixels(gp, screenPts);
            Bitmap bmp = BitmapFactory.decodeResource(getResources(),
                    R.drawable.ic_launcher);
            arg0.drawBitmap(bmp, screenPts.x, screenPts.y - 50, null);
            return true;
            // return super.draw(arg0, arg1, arg2, arg3);
        }
        @Override
        public boolean onTouchEvent(MotionEvent event, MapView mapView) {
            // ---when user lifts his finger---
            if (event.getAction() == 1) {
                GeoPoint gp = mapView.getProjection().fromPixels(
                        (int) event.getX(), (int) event.getY());
            Toast.makeText(
                        getBaseContext(),
                        "Location: " + gp.getLatitudeE6() / 1E6 + ","
                                + gp.getLongitudeE6() / 1E6, Toast.LENGTH_SHORT)
                        .show();
                ;
Figure first half of code
Continue coding in the same activity file. Second half of code is as shown in the following listing:
Geocoder geoCoder = new Geocoder(
                        getBaseContext(), Locale.getDefault());
                        try{
                        List<Address> addresses = geoCoder.getFromLocation(
                        gp.getLatitudeE6() / 1E6,
                        gp.getLongitudeE6() / 1E6, 1);
                        String add=" ";
                        if(addresses.size() > 0)
                        {
                        for(int i=0; i<addresses.get(0).getMaxAddressLineIndex();
                        i++)
                        add += addresses.get(0).getAddressLine(i) + "\n";
                        }
                        Toast.makeText(getBaseContext(), add, Toast.LENGTH_SHORT).show();
                        }
                        catch(IOException e) {
                        e.printStackTrace();
                        }
                        return true;
            }
            return false;
        }
    }
    @Override
    protected void onCreate(Bundle savedInstanceState) {
        super.onCreate(savedInstanceState);
        setContentView(R.layout.activity_main);
        mapView = (MapView) findViewById(R.id.mapView);
        mapView.setBuiltInZoomControls(true);
        mapView.setStreetView(true);
        mc = mapView.getController();
        String coordinates[] = { "1.352566007", "103.78921587" };
        double lat = Double.parseDouble(coordinates[0]);
        double lng = Double.parseDouble(coordinates[1]);
        gp = new GeoPoint((int) (lat * 1E6), (int) (lng * 1E6));
        mc.animateTo(gp);
        mc.setZoom(13);
        MapOverlay mapOverlay = new MapOverlay();
        List<Overlay> listOfOverlays = mapView.getOverlays();
        listOfOverlays.clear();
        listOfOverlays.add(mapOverlay);
        mapView.invalidate();
    }
Figure second half of code
Third half of code is as shown in the following listing:
@Override
    public boolean onKeyDown(int keyCode, KeyEvent event) {
        // TODO Auto-generated method stub
        MapController mc = mapView.getController();
        switch (keyCode) {
        case KeyEvent.KEYCODE_3:
            mc.zoomIn();
            break;
        case KeyEvent.KEYCODE_1:
            mc.zoomOut();
            break;
        }
        return super.onKeyDown(keyCode, event);
    }
    @Override
    public boolean onCreateOptionsMenu(Menu menu) {
        // Inflate the menu; this adds items to the action bar if it is present.
        getMenuInflater().inflate(R.menu.main, menu);
        return true;
    }
    @Override
    protected boolean isRouteDisplayed() {
        // TODO Auto-generated method stub
        return false;
    }
}
Figure Third half of code
Now open the manifest file and code it as shown in the following listing:
<?xml version="1.0" encoding="utf-8"?>
<manifest xmlns:android="http://schemas.android.com/apk/res/android"
    package="com.android.tution.GeoCodingExample"
    android:versionCode="1"
    android:versionName="1.0" >
    <uses-sdk
        android:minSdkVersion="8"
        android:targetSdkVersion="18" />
    <uses-permission android:name="android.permission.ACCESS_COARSE_LOCATION" />
    <uses-permission android:name="android.permission.ACCESS_FINE_LOCATION" />
    <uses-permission android:name="android.permission.INTERNET" />
    <application
        android:allowBackup="true"
        android:icon="@drawable/ic_launcher"
        android:label="@string/app_name"
        android:theme="@style/AppTheme" >
        <uses-library android:name="com.google.android.maps" />
        <activity
            android:name="com.android.tution.GeoCodingExample.MainActivity"
            android:label="@string/app_name" >
            <intent-filter>
                <action android:name="android.intent.action.MAIN" />
                <category android:name="android.intent.category.LAUNCHER" />
            </intent-filter>
        </activity>
    </application>
</manifest>
Figure manifest file
Now we are done with the coding section. Let us find out the output of this scenario. Create a Google API compatible emulator and run your application. It should look similar to the following snapshot:

Figure Location coordinates
While running this project you must be online otherwise the map would not be displayed as it is displayed in the attached snapshots. The street address of this co-ordinate is as shown in the following snapshot:
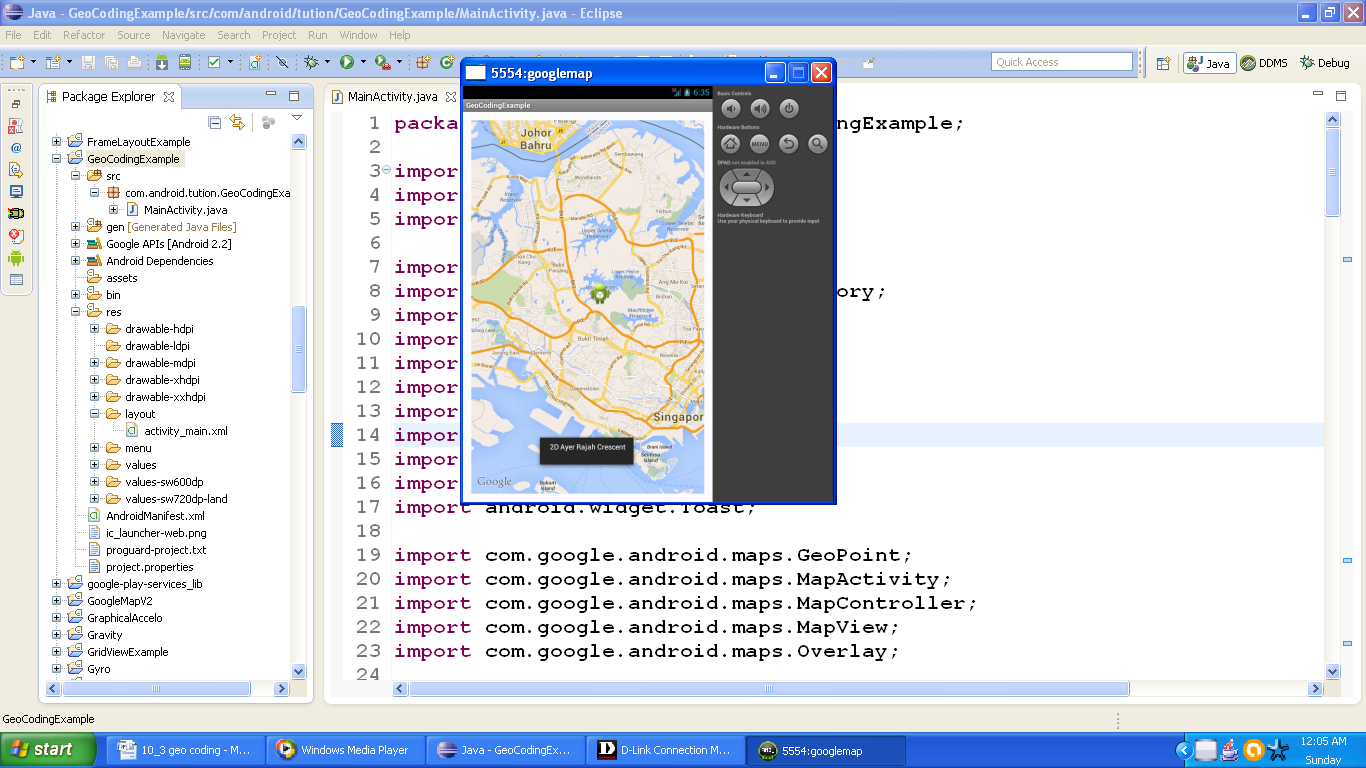
Figure Street Address
Congratulations buddiesJ!!! We are done with geo coding section. Hope you enjoyed the tutorial. See you in the next section. Till then keep practicing. Happy App Developing!!!